1.10.2019

Updated:

6.5.2021

5 min read

Share on:

In this series, we follow a Christchurch couple in their bid to turn their 1960’s fixer-upper, from a retro rental to a modern home.

If you’ve ever considered buying an older home but have lacked the confidence to tackle something totally outdated, this guide is for you. It’s a whole lot of fun, and not as hard (or anywhere near as risky) as you might imagine.

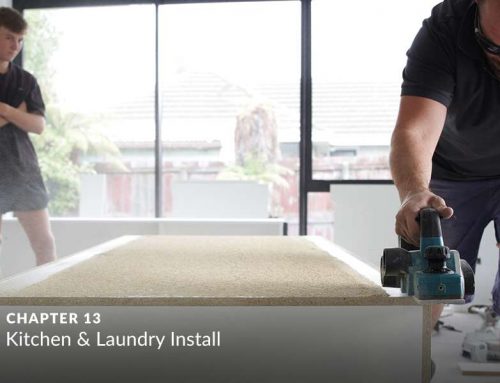
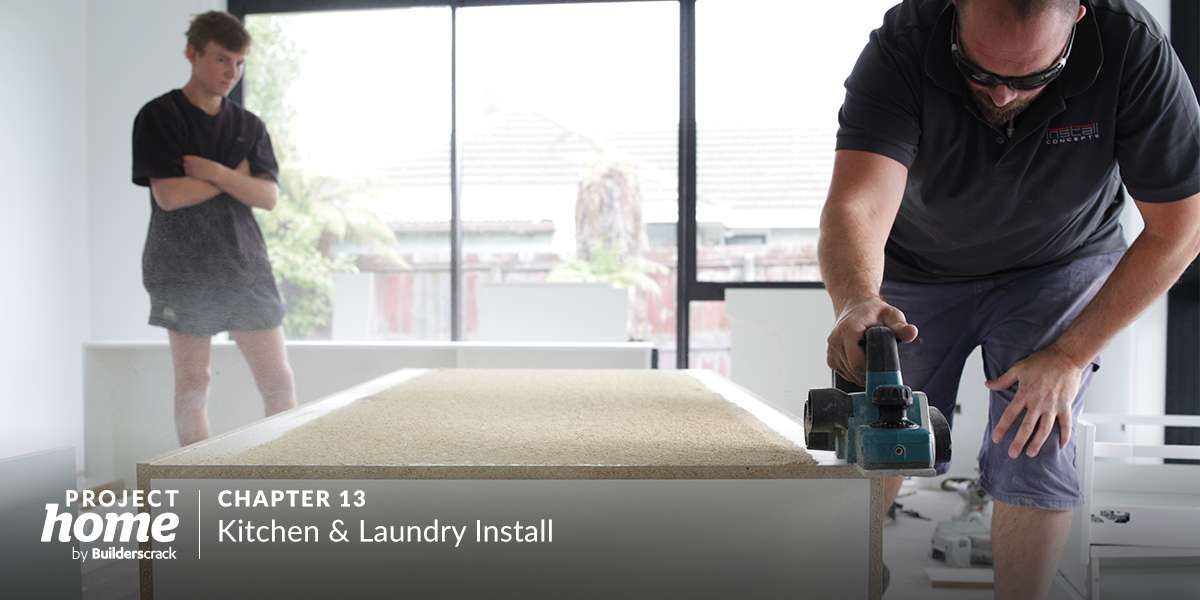
In the previous chapter, we met with Glen from Kitchen Concepts, who worked with Jeremy and Alana to design and make the kitchen of their dreams.

With the kitchen design settled and the manufacture underway, it was time to focus back on the house. Mark (the builder) and his guys had made great progress and it was now time to take delivery of the new double glazed windows.

Installation would take 4-5 days. Mark and his team would work window-by-window, door-by-door, removing and replacing each with the new units.

What work was involved with the window/door replacements?

In Chapter 5, we looked at the glazing measure and choices. Jeremy and Alana had chosen aluminium double glazing to replace their timber single glazing. The new units were ready and it was time to get stuck in.

  • The actual job of replacing the old with the new was entirely up to the builders.

    Mark was experienced in this work, having done many full-house upgrades in the past.

    Mark assigned some extra pairs of hands to our job for the days they’d be working on this. There was some heavy lifting involved in this work, where a minimum of three people were needed.

    Mark and his team would take delivery on site. The windows would be positioned around the house where they were to be installed. From there, the old windows and joinery would be cut out and the new units positioned. The new units would then be fixed in position and expanding insulation installed.

    The final job would be to cut and install new architraves, resulting in a seamless result ready for painting.

Were there any tricky bits?

While most of the window replacements were fairly straightforward like-for-like, the sliding doors were taller than the original window openings and would require some additional work.

  • All of the window replacements were identical to the originals, so it was more a matter of repeating a proven process of cutting out the old, and installing the new.

    With the ranch sliders, however, about 300mm of brick and wall would need to be removed down to floor level.

    This process was relatively straight forward, however. The builders would undertake everything required to get the new doors in place, and bricklayers would take care of building a new stone sill on the exterior, to direct moisture away from the building after the doors were installed.

What was the process for removing the windows?

  • Firstly, the architraves were removed from the inside, exposing a gap around each of the windows.

    A reciprocating saw was used to cut all the fixings around the space between the wall framing, and the old joinery.

    The original brickwork was completed to a high standard, and the window openings were plumb and level, meaning that after the fixings were cut, the old windows could be easily levered out and taken away.

    The remaining opening was ready for the new window. Due to the precise measurements taken for the new units, they could slip into the opening without much further work, and be fixed in place ready for insulation and new architraves.

Did the result meet your expectations?

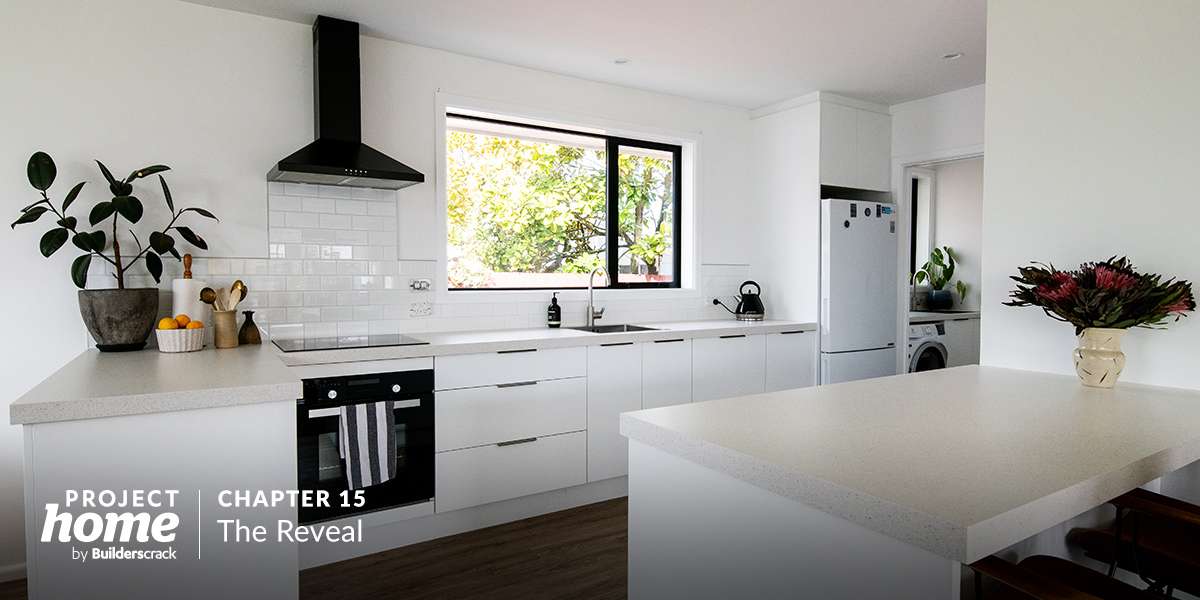
With the windows and doors now replaced, the majority of the building work was now completed. We discuss where the reno is at, and how Jeremy and Alana were feeling now that this milestone had been achieved.

  • We were feeling great! Having the windows and doors completed represented a definite milestone. The focus could now shift on to the finishing trades, like plastering, painting, and of course the brickwork.

    We were really pleased with the result of the joinery replacement. Being able to stand in the sliding doorway looking out, gave us a real sense of our vision coming to life. It was our closest sense yet of the feel of the living space that we were creating.

    The black joinery looked fantastic against the stone!

    With the surplus external doors also now framed up and gibbed, the whole interior was beginning to feel like the vision we had in our minds.

    The work at this point had exceeded our expectations. We were feeling very excited, and also a little bit of disbelief that we were on the home straight.

    There wasn’t a lot of time to enjoy this, as the bricklayers and plasterer would be up next, before painting and flooring would complete the renovation.

Lessons learned from the day

  • Undoubtedly, the precise measurements taken by Bruce (the windowmaker) and Mark set this step up for smooth execution. If any measurement had of been out, it would have resulted in both extra cost and delay.

  • We made sure to engage no other trades across the days Mark and his team were undertaking the window and door replacement. Free access and movement around the site were crucial to safety and speed of execution.

  • It’s a lot faster and cheaper to sacrifice the timber windows than preserve and resell them. Their resell value is very little, compared to the extra time it takes the builders to preserve them.

  • Different designers generally specialise in different pricing brackets. Discuss budget upfront when talking with different outfits and make sure they’re a good fit for your job.

  • When engaging a designer, it should be an exciting, inspirational, creative experience. Let them know your needs and any features that are really important to you. Ultimately, they are trying to bring your vision to life – so don’t be afraid to share everything you’re looking for, even if it’s not well thought out.

  • Be sure you’ve discussed any flashings and/or building and brick work with your builder beforehand. It ensures the builder can take care of only what’s needed, without worrying about anything that’s not.

Gallery (click to enlarge)
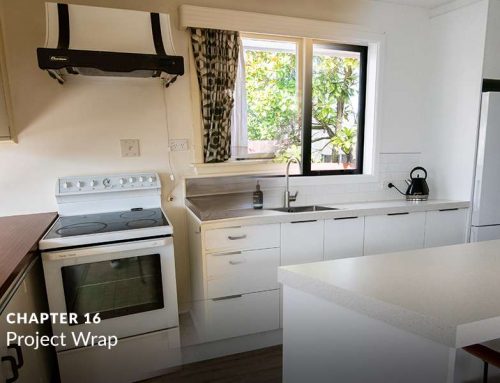
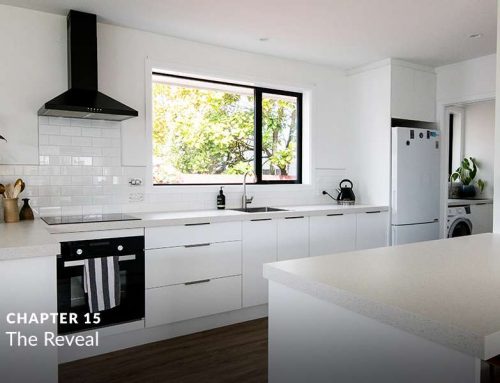
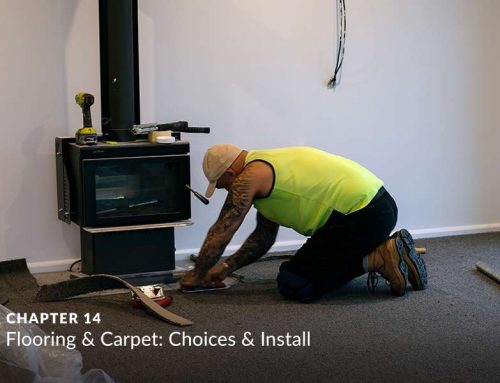
Keep reading: