15.10.2019

Updated:

6.5.2021

8 min read

Share on:

In this series, we follow a Christchurch couple in their bid to turn their 1960’s fixer-upper, from a retro rental to a modern home.

If you’ve ever considered buying an older home but have lacked the confidence to tackle something totally outdated, this guide is for you. It’s a whole lot of fun, and not as hard (or anywhere near as risky) as you might imagine.

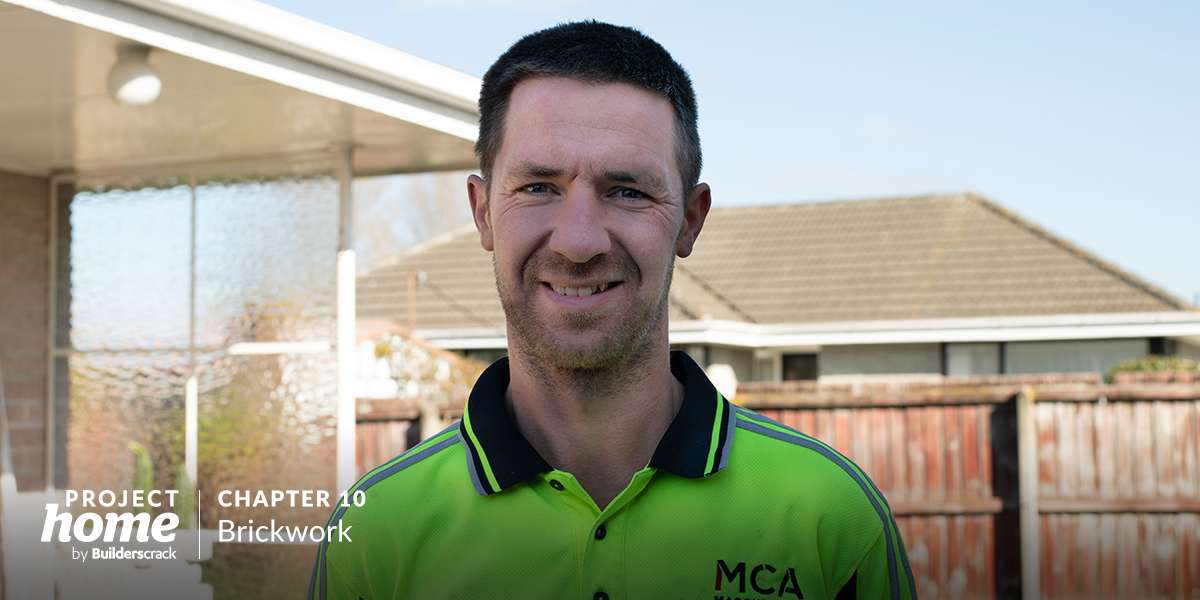
In the previous chapter, MCA Masonry filled in the old external doorways, laid new sills and relaid the bricks surrounding the new front door.

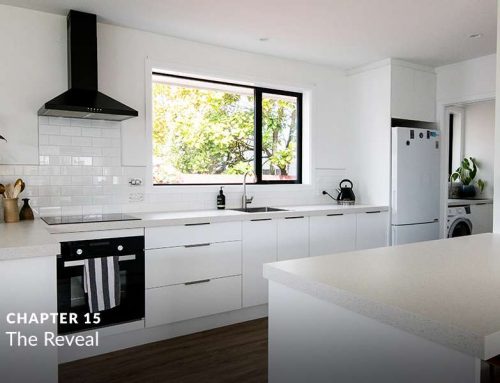
With the new joinery in and brickwork complete, it was time to now focus back in the interior. With the gib board installed our couple’s renovation is really on the home straight.

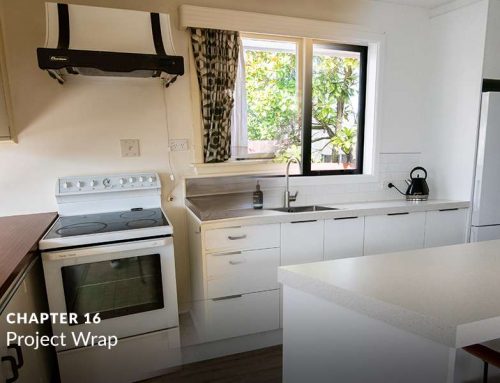
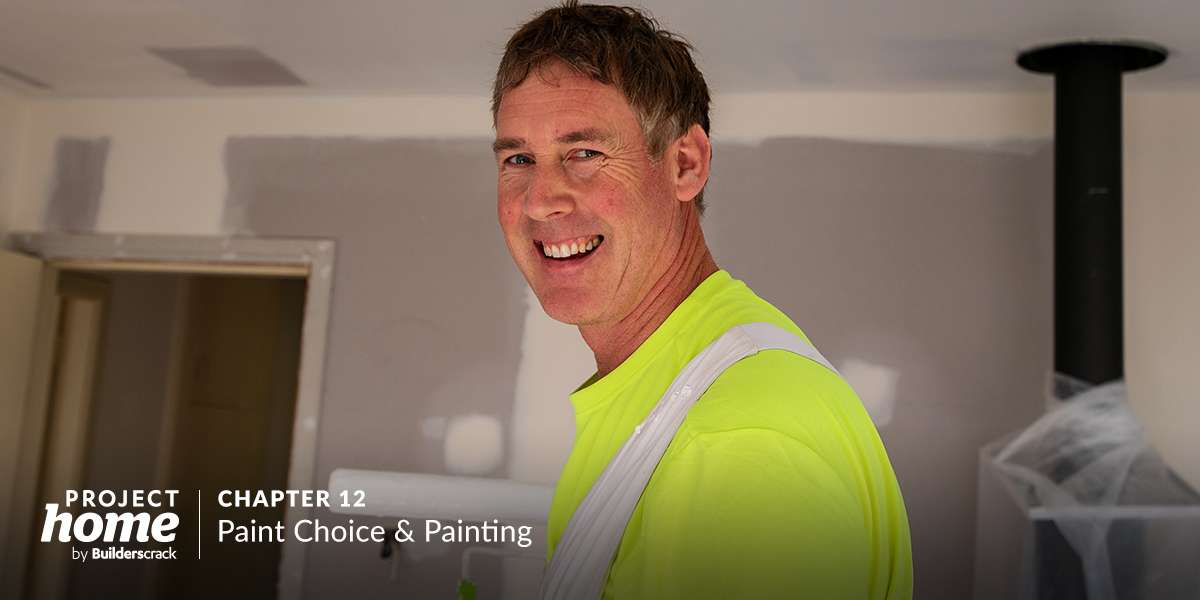
In this chapter, we check out the cosmetically critical stage of plastering the newly installed wallboard, as well as touching up the rest of the house.

Now that the renovation is getting into the final stages, could you give us a quick recap of where things are at?

  • Outside, we have just had the brickwork completed. The new aluminium joinery was installed prior to this, and the bricklayers created new sills for the triple stack sliding doors in the living area, as well as bricking up the now-unused pre-existing external doors.

    All of the internal building work has now been done. This included framing and lining unused external doors, removing of a section of wall between the kitchen and living area, moving the hot water cylinder to a more appropriate location and of course insulating and re-gibbing almost all of the living space.

    The kitchen is currently being made, and will be ready for installation in line with the completion of the painting.

    In the meantime, with the building work now done, it’s on with the plastering.

What was the extent of the plastering required?

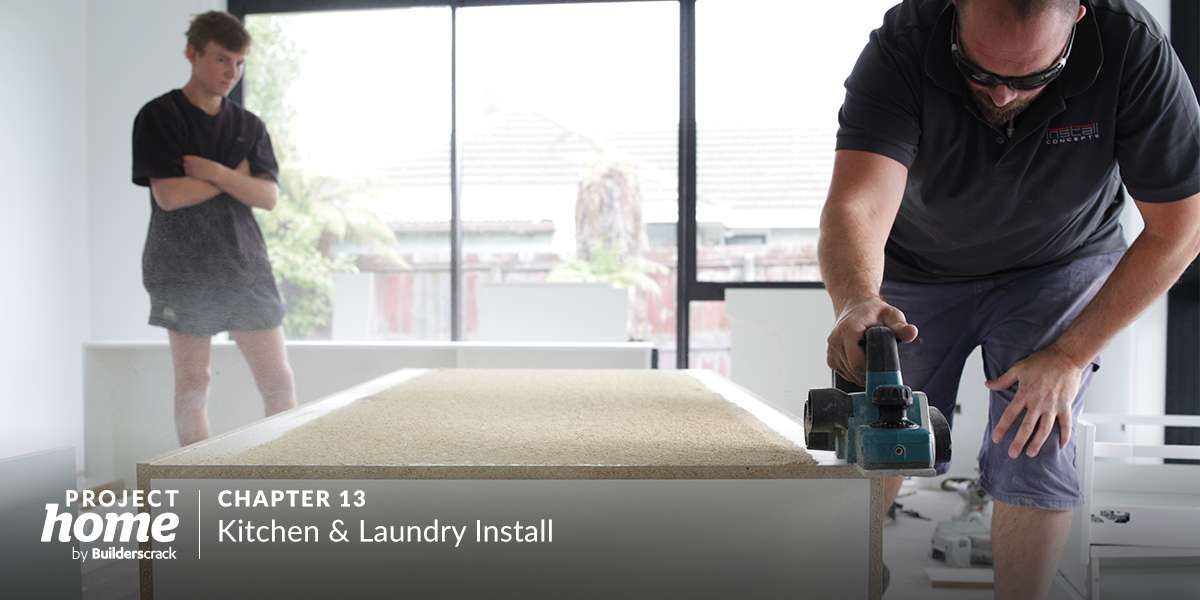
With the new kitchen and living areas lined, the space is really taking shape. We talk about the extent of the plastering job required.

  • The plastering scope actually ended up being quite extensive. Being an older house, the interior walls weren’t in perfect shape to start with. Since we were going to do a full paint, we didn’t want those imperfections showing through.

    This meant we wanted the plasterer to go through the entire interior room by room and fix any and all imperfections to a paintable standard.

    The living area where new Gib had been installed needed to be finished to a paintable standard.

    At this stage, we didn’t know a lot about the different grades of plaster finishing, or the process required to be undertaken. We knew the result we were after, and we expected to consult with the plasterer to achieve that result.

    As it turned out, there was a lot more to plastering than we realised!

Who undertook the work? Why did you go with them?

Earlier in the renovation, Jeremy and Alana posted their job on Builderscrack, and made contact with plasterers keen to quote on their job.

  • Firstly, it’s important to note that when it comes to plastering and painting (and decorating generally), some tradespeople can do both, while others specialise in one or the other.

    When we posted our jobs, we posted both a painting and a plastering job. In the end, we opted for two tradespeople.

    For the plastering, we went with Zane Gerlich of ZG Plastering & Painting. While Zane could have done the whole job, we had already begun working with another painter (who didn’t plaster).

    Zane was happy to do the plastering component, which we appreciated.

    Some qualities that attracted us to Zane were his quick responses and friendly, energetic demeanour. He inspired confidence with how he approached our job.

    When we met him on-site to discuss the plastering in detail, we were in for a good lesson on plastering!

What options did you have, and what did you need to consider?

After meeting Zane on site, Jeremy and Alana went through the house, discussing the various options for undertaking aspects of the job.

  • One of the first things we discussed was the “Level” of finish we desired. Plaster finish level is defined in AS/NZ 2589.1, and ranges from 1 to 5.

Finish level Expected quality and areas of use
Level 0 Unstopped sheets.
Level 1 Suitable only in plenum areas above ceilings, in attic spaces, in areas where the paint will be concealed from view or in areas of a building not open to public view, such as plant rooms and service corridors.
Level 2 Suitable for garages, warehouses, storage or other similar areas where surface appearance is not of primary concern. Minor ridges and tool marks are acceptable.
Level 3 Suitable for appearance areas that are being finished with a heavy or medium textured finish before final painting, or where heavy grade wallcoverings are being applied. This level of finish is not generally acceptable for painted finishes or for light-to-medium weight wallcoverings.
Level 4 Suitable for areas where light textures and wallcoverings are being used, where economy is of concern, or where a flat or low sheen paint finish is being used in areas of non-critical light conditions. The finished stopping must be smooth and free of all tool marks.
Level 5 Suitable for use where gloss, semi-gloss, low sheen or non textured flat paints are being applied or where critical light conditions exist. To achieve a level 5 finish on plasterboard and fibre-cement, a thin skim coat is applied to the entire surface of the sheets. For fibrous plaster linings, the final compound application is trowel polished.
  • But that was only the start.

    In the bedrooms, there had been some minor cosmetic earthquake damage in a few corners (as with all homes in Christchurch!). The complicating factor was that the rooms were wallpapered with a finely textured covering. The wallpaper appeared to be quite old, and removal was something we wanted to avoid, as the rest of the walls were generally in a good condition.

    The challenge was to mask the damage in a way that didn’t stand out. Zane was happy to do his best, but advised that paint choice would also determine how obvious the repair was.

    As part of the decision-making process for plaster finish, we consulted with Resene Paint. Elaborating on the various challenges we faced to achieve a great finish, we sought advice on the best paint option for masking imperfections. Resene advised that they had a special paint that was designed for this particular application, Spacecote – and we’ll cover this in an up and coming chapter.

    After consulting with Zane, Resene and our Painter, we decided on a Level 4 finish for the living area. It would give a great result in the particular lighting conditions and paint combination we were going for, while saving on a full Level 5 finish.

    The other areas of the house would also be finished to a Level 4 standard, and Zane would do what he could with the tricky wallpapered areas.

How was the job priced?

Now that Jeremy and Alana had a better understanding of the decisions needing to be made, Zane could proceed with quoting on the job.

  • After the information gathering and decision-making process, Zane priced up the job and supplied a quote.

    There was quite a lot of additional detailing required that was beyond the scope of a painters role. A painter will “fill” small imperfections and “gap” (which involves running a bead of gap filler in joins) details like new architraves (window surrounds) etc. However, through the process of replacing the glazing, there were quite a few areas that required a proper plaster.

    There were also the surrounds of the two new cavity sliders, and a multitude of areas in the living area which required a ground-up plaster.

    Zane was thorough in his scope, and gave us a fixed price quote for the whole job, which we were happy to accept.

Were you happy with the result?

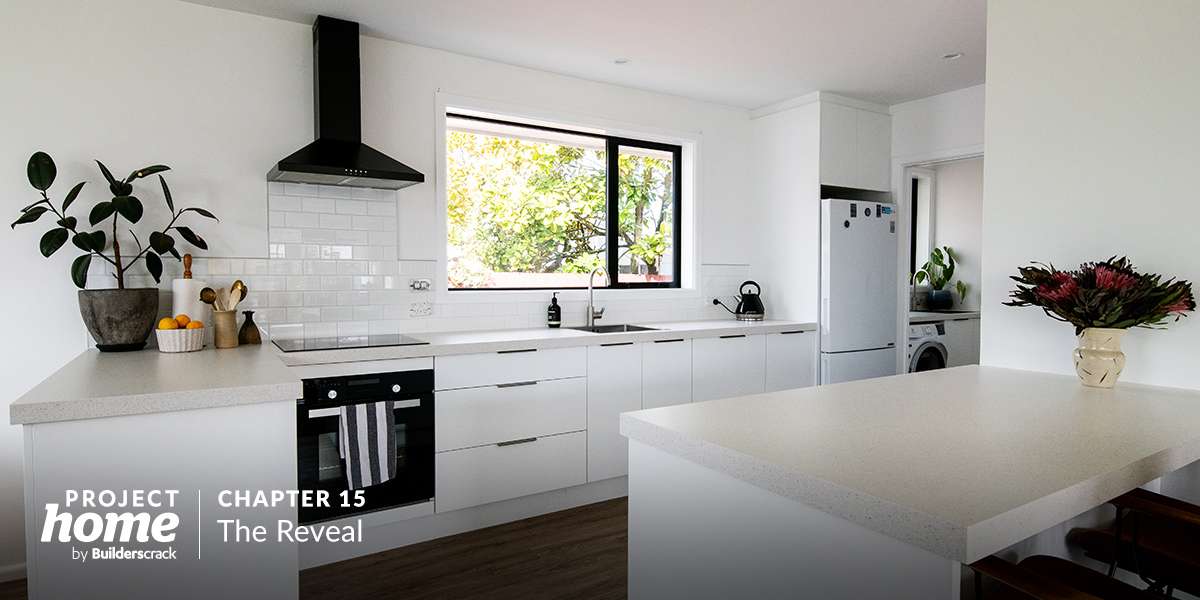
With the plastering completed over 3 days, we check in with Jeremy and Alana to hear about the result of the decisions they made and Zane’s approach to the job.

  • We hadn’t appreciated what an art plastering is! And a process. We got the impression from Zane’s approach that he was both very diligent and good at his craft.

    As the plastering work unfolded over days, with the layers of plaster slowly built up and sanded back, the space grew in both it’s sharpness and homely vibe.

    The result was fantastic! Zane’s diligence really paid off, and we often found ourselves looking in some nook or cranny and saying “wow, he fixed this too!”. The result we felt we were left with was a “new house” feel. There wasn’t a scrape, dent or hole from that old wall hanging anywhere.

    Naturally, we were really excited to get the painting underway, but before that could happen, we had more decisions to make in that department – which we’ll cover next week.

Lessons learned from the day

  • Some decorators will paint and plaster, while others specialise in either painting or plastering.

  • The “level” of finish should be determined by the lighting and paint type you’re opting for. You can generally save by opting for a lower level finish, but it’s not suitable for all areas and will result in a poor quality paint finish if not right. Consult with your plasterer and painter before deciding.

  • f you’re just repainting the interior of your home, it’s still a great opportunity to consult with a plasterer and fill any imperfections in the walls and ceilings of your home. If you’ve made any changes involving wallboard, plastering will be an essential step.

Gallery (click to enlarge)

Keep reading: