21.11.2019

Updated:

6.5.2021

4 min read

Share on:

In this series, we follow a Christchurch couple in their bid to turn their 1960’s fixer-upper, from a retro rental to a modern home.

If you’ve ever considered buying an older home but have lacked the confidence to tackle something totally outdated, this guide is for you. It’s a whole lot of fun, and not as hard (or anywhere near as risky) as you might imagine.

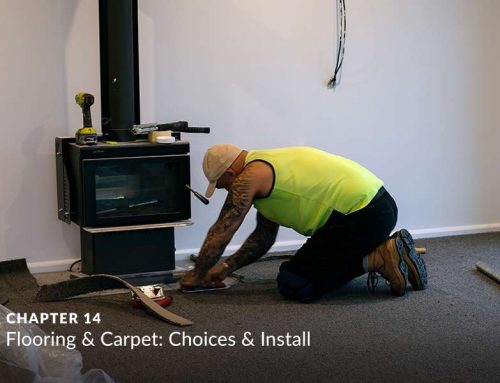
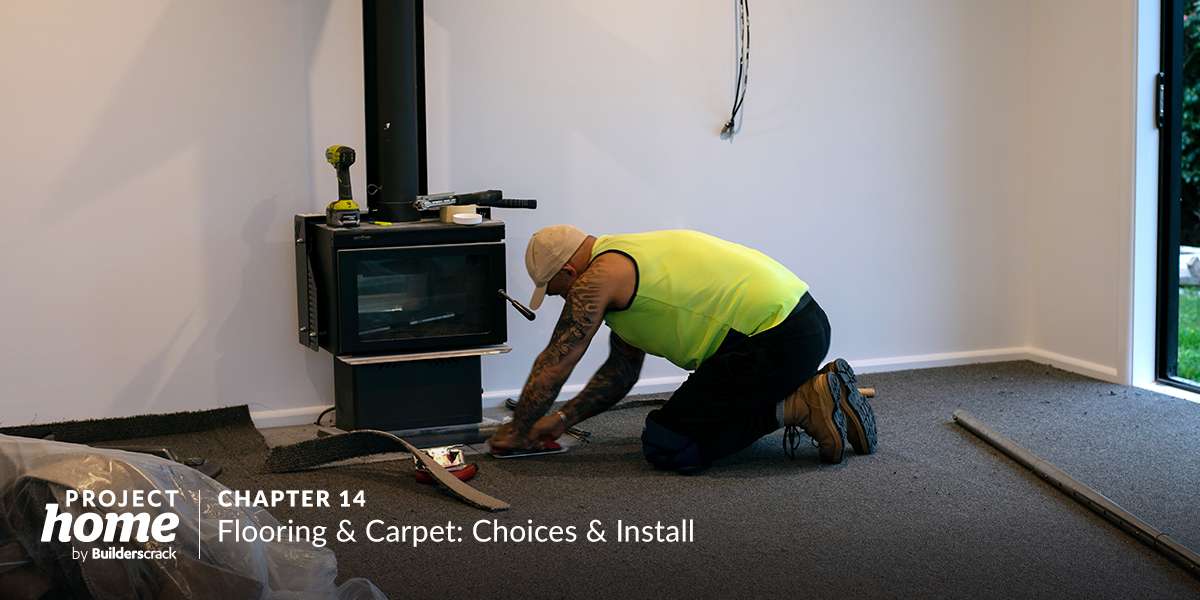
In the previous chapter, we explored flooring and carpet choices, and took a look at how both were laid.

With the flooring down, the house was ready for a weekend furniture move. With friends and family onboard, this came together a breeze.

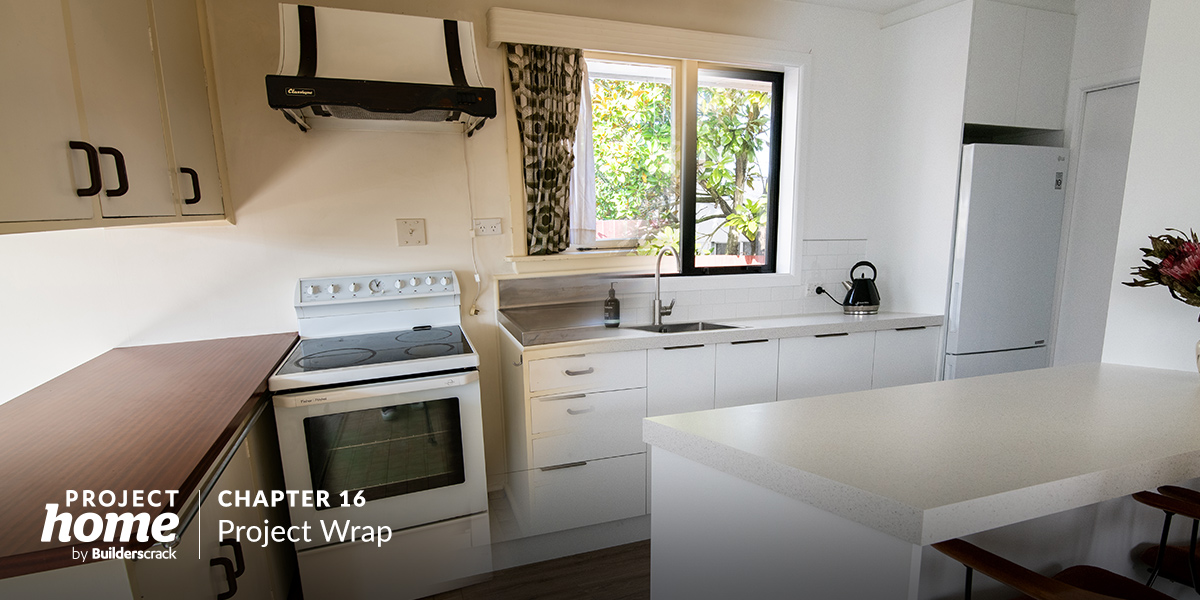
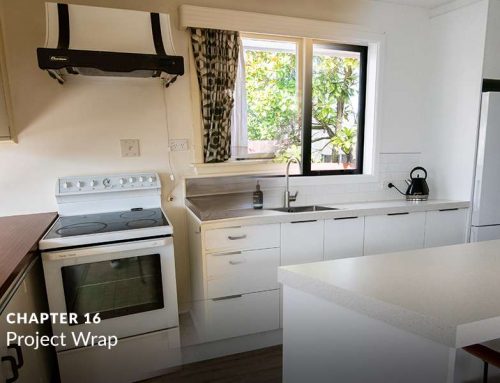
And with that done and dusted it’s time to reveal the finished interior!
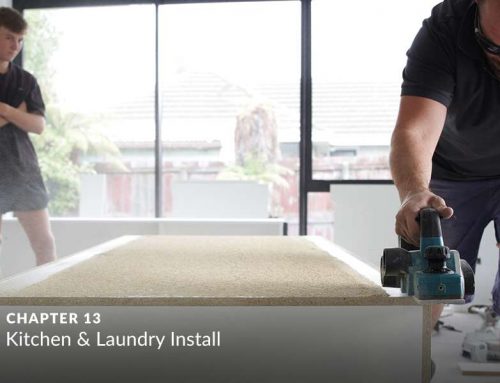
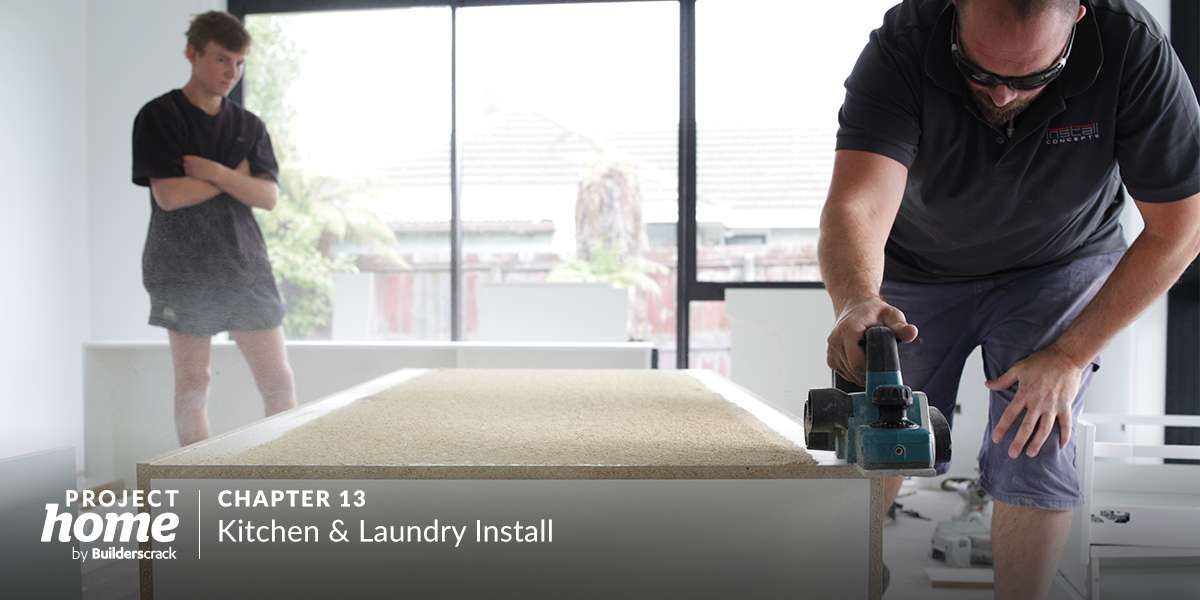
The Kitchen

  • We wanted to create a classic “heart of the home” in our kitchen. To us, this meant a roomy area to move, lots of bench space to work and an easy flow between kitchen, dining and living spaces.

    After living in our home for a couple of months now, there isn’t anything we’d have done differently in the kitchen. It is most definitely the heart of our home and a space we really enjoy being in.

The Laundry

  • We wanted to create a classic “heart of the home” in our kitchen. To us, this meant a roomy area to move, lots of bench space to work and an easy flow between kitchen, dining and living spaces.

    After living in our home for a couple of months now, there isn’t anything we’d have done differently in the kitchen. It is most definitely the heart of our home and a space we really enjoy being in.

Dining Room

  • This sunny little nook didn’t need much work, rather, it was more a case of ensuring the kitchen return didn’t intrude on the flow between kitchen and dining space. We paid careful attention to this in the design stage and the result is a separate dining space fit for purpose.

Living Area

  • The key objective was indoor-outdoor flow, and what better way to create this than with two triple stacker sliders. Of course, this would also require a wrap-around deck… a project for the next holiday break!

    The living area is comfortable, light and warm. With the triple stackers both wide open, we have built the basis for a classic great kiwi living space.

Hallway

  • Without a lot of natural light, we were relying on our paint choice to brighten up the hallway and give it a lighter feel. With plastering, painting and carpet the only improvements, the transformation is amazing.

Bathroom & Toilet

  • As there had already been some work done to the toilet and bathroom previously, we didn’t need to invest a lot in bringing these spaces up to standard. A plaster, paint and new flooring really set them off.

Bedrooms

  • Again, a plaster, paint and carpeting was all that was needed to brighten and cosy up the bedrooms. Not to mention the noise-reduction double-glazing making for quiet, warm spaces.

Join us next week for Chapter 16, the final instalment in this series, as we discuss final budget, what could have been done differently, thank our tradies and more…

Gallery (click to enlarge)

Keep reading: