10.10.2019

Updated:

6.5.2021

6 min read

Share on:

In this series, we follow a Christchurch couple in their bid to turn their 1960’s fixer-upper, from a retro rental to a modern home.

If you’ve ever considered buying an older home but have lacked the confidence to tackle something totally outdated, this guide is for you. It’s a whole lot of fun, and not as hard (or anywhere near as risky) as you might imagine.

In the previous chapter, Jeremy and Alana had their aluminium double glazing installed, including two triple stack sliding doors.

With the new joinery done and the building work winding down, it was time to move on to the brickwork. With various reconfigurations made to create a better use of space, two external doors needed bricking up, two sills for the new ranch sliders needed laying, and the main front door opening needed widening slightly.

The new brickwork would need to be “toothed” into the old, creating more or less seamless junctions on the exterior.

What inspired you to reconfigure your external entrances?

Early on in chapter 2 “Visions and Decisions”, Jeremy and Alana shared their sketches that outlined their renovation. We delve into detail about the external entrances; how they knew what would be possible, and how the various trades worked together to achieve their vision.

  • Really, our inspiration was the vision we believed we could achieve. It wasn’t going to be possible to leave them as-they-were.

    By replacing the large windows in the living area with triple stackers, the “back” door was rendered completely unnecessary. The “side” door out to the driveway, in our opinion was unnecessary anyway, as well it taking up valuable kitchen wall space inside, and the steps were very intrusive into the driveway, which was quite narrow anyway.

    It was more a matter of common sense than design.

How did you learn what would be possible regarding the brickwork?

With the work more or less scoped out, Jeremy and Alana at this stage didn’t know a lot about bricklaying. They didn’t even know if it was possible!

  • When we went through the house and discussed our vision with Mark Smith, of Mark Smith Builders – we relied on his building experience to advise us on what would be possible.

    Mark had undertaken many previous renovations that involved changes to brickwork, and was completely confident our changes would be possible.

    It would involve Mark removing the doors and frames, before framing up the remaining hole with timber. The exterior of the hole would be covered in the appropriate moisture barrier and temporarily covered with plywood until the bricklayers undertook the job. The framing would be filled with insulation as usual and then gib, before being plastered and painted.

    The result would be a seamless transition between old and new.

    We set out to find the right bricklayer early in our renovation, so they could scope the job and discuss any special considerations with Mark.

Who undertook the work? Why did you go with them?

With the work confirmed as possible by their builder, it was time to post their job requirements on Builderscrack, and find the right bricklayer to undertake the work.

  • We chose to work with Johnny McAuley and his team from MCA Masonry.

    There were a number of reasons we chose to work with MCA:

    • Their attention to detail was clear to see in photos of their previous work we viewed
    • Johnny’s “can do” attitude. Nothing was a problem. He was keen to do the work, and totally professional in his approach.
    • His depth of knowledge and experience was obvious in the way he discussed the various jobs needing doing with us.

    Feeling confident, we made a plan. The work could be completed across a few days by a number of guys from his team.

    We discussed timings with Mark to ensure the building work would be completed and ready for the bricklayers by specific dates.

    The first two days would be spent by the bricklayers bricking up the old entrances. The last day would be spent completing the sills below the new ranch sliders.

How did the bricklayers approach the work?

With the dates locked in and the critical related building work completed, it was time to get on with the bricklaying. We discuss the approach and how the work progressed.

  • The first thing MCA did was remove every second brick vertically, to create a “toothed” edge up the existing brickwork. This would allow the bricklayer to create a strong, seamless join into the new brickwork.

    The edges of this remaining brickwork were tidied up. This meant removing all the old mortar around the surfaces that would match up to the new brickwork.

    As we were using second hand bricks, the bricks were checked, cleaned and stacked next to the job.

    As we were going to paint the exterior, we opted for a less expensive standard dark mortar. If we were not going to paint, we could have opted for a matching white mortar.

    MCA proceeded to measure, cut and lay the bricks row by row, using a string line and level to keep everything straight and level.

Were you happy with the result?

With the brickwork done, and the exterior of their home weathertight again, we check in to find out how well the new brickwork fitted with the old.

  • This was one area of building that we knew relatively little about, so we relied heavily on both our builder Mark, and MCA Masonary’s advice. As we were working with a permanent material as the critical waterproofing cladding, it had to be done properly.

    The finish MCA achieved was exceptional. If we weren’t painting the exterior and had opted for white mortar to match the existing, it would have been near impossible to tell where the old and new joined.

    The rows were straight as an arrow, and edges of the brickwork a perfect fit up against the new aluminium joinery.

    All and all, the entrance door reconfigurations were a real success and we were feeling stoked with the result.

Lessons learned from the day

  • You don’t need to know all the details of every trade. Contract an expert tradesperson whose work you like the look of, with great reviews. Talk through your job with them and let them tell you what is and isn’t possible.

  • There are sometimes opportunities to save a few dollars, in this case using dark mortar instead of white. By discussing the details with your tradesperson through to the final vision, they can know what areas need to be perfect, and what areas have a bit of room for compromise.

  • Most like for like brick veneer wall cladding repairs do not require a building consent, as this falls under the “General repair, maintainence, and replacement of building parts“, in building consent exemptions. However, there are circumstances which may require a consent. The Building Performance website covers every aspect of related law, with useful examples.

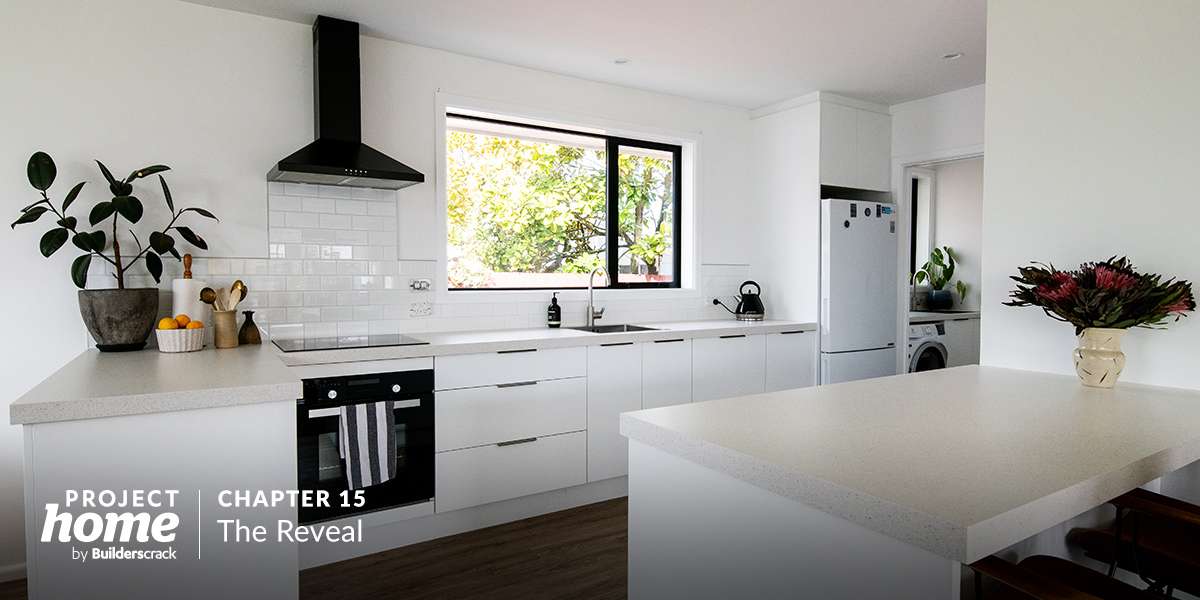
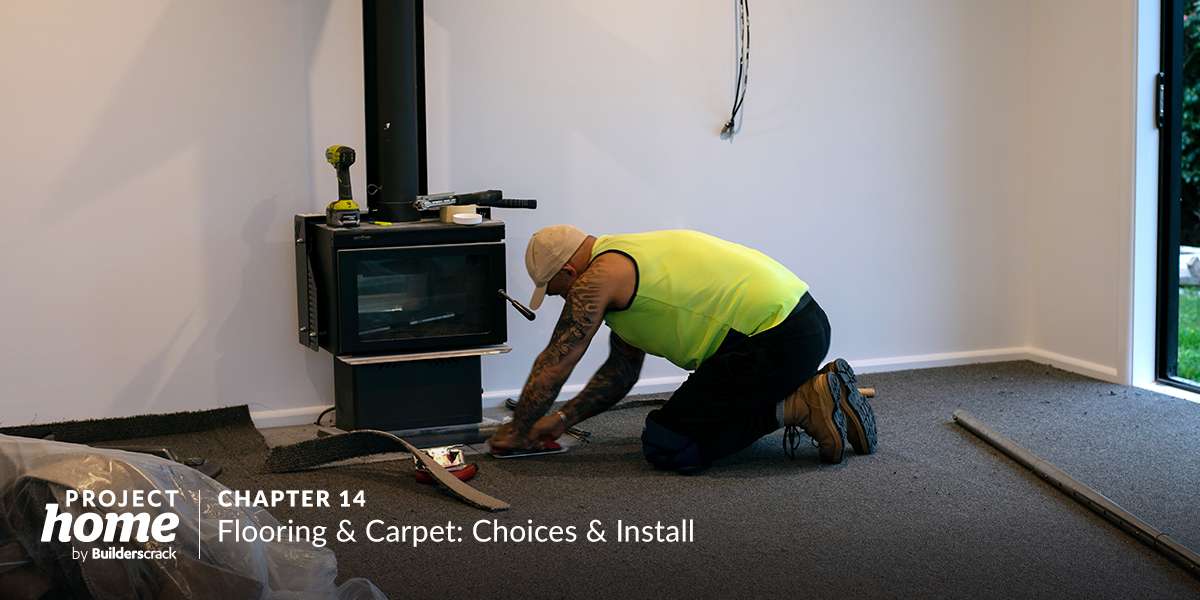
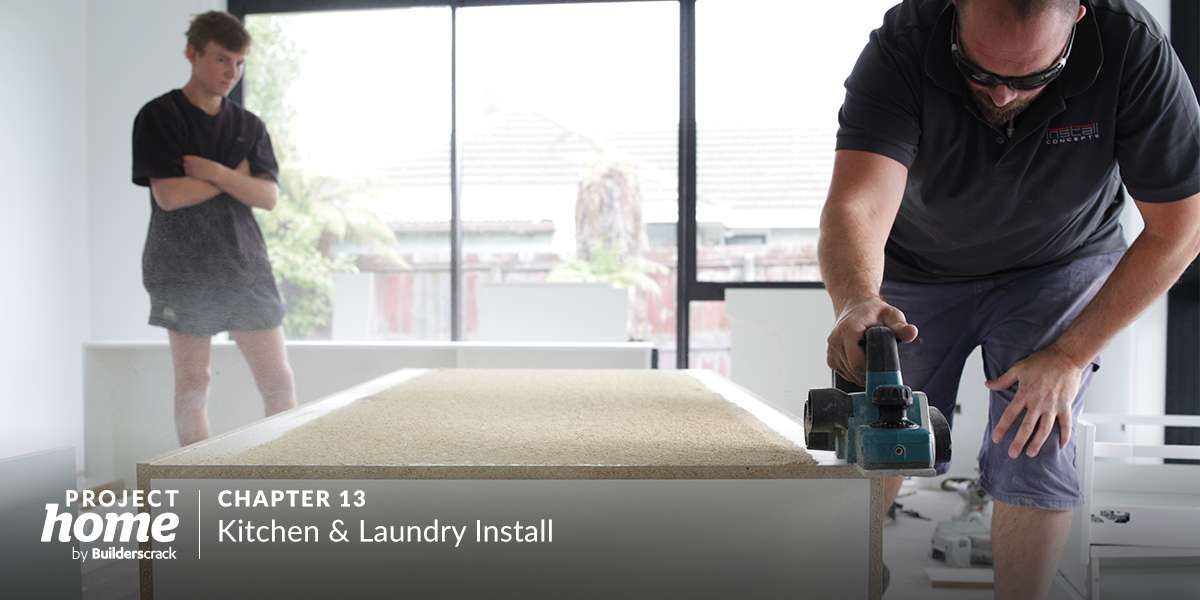
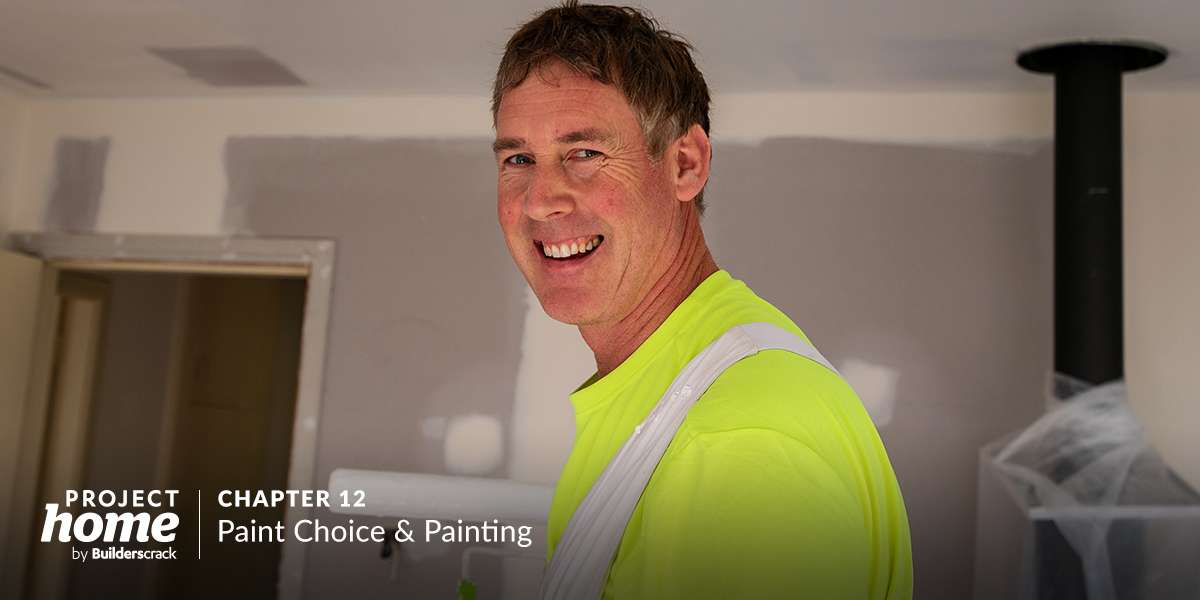
Gallery (click to enlarge)

Keep reading: