12.11.2019

Updated:

6.5.2021

6 min read

Share on:

In this series, we follow a Christchurch couple in their bid to turn their 1960’s fixer-upper, from a retro rental to a modern home.

If you’ve ever considered buying an older home but have lacked the confidence to tackle something totally outdated, this guide is for you. It’s a whole lot of fun, and not as hard (or anywhere near as risky) as you might imagine.

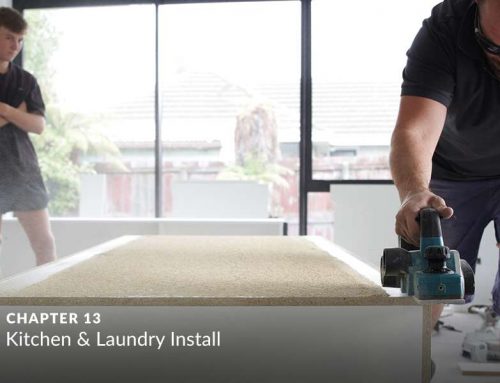
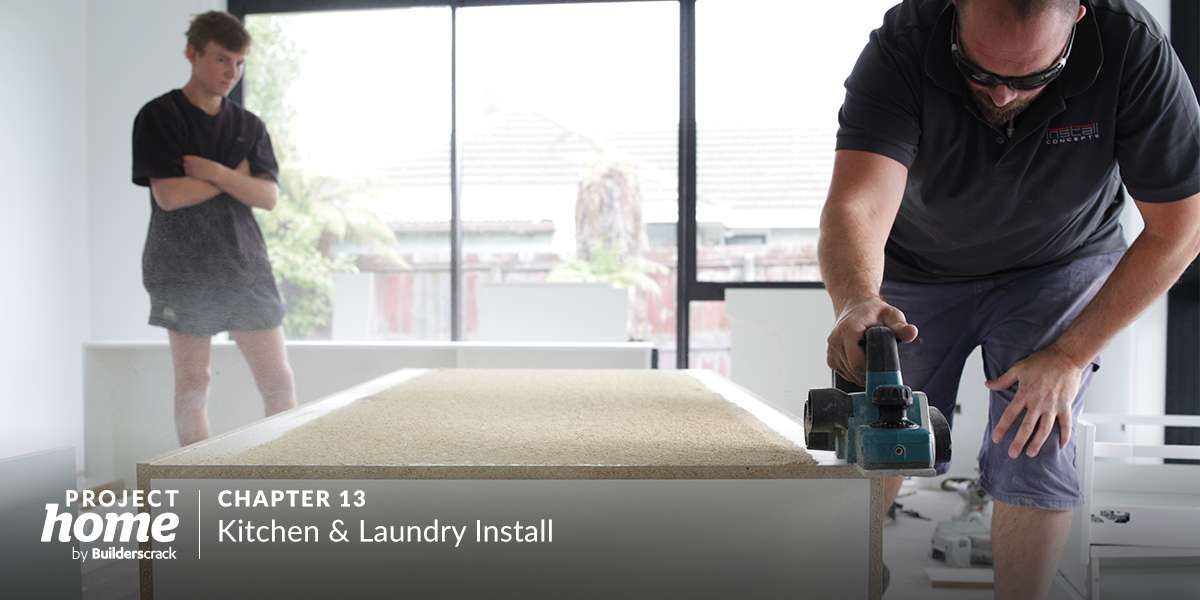
In the previous chapter, we looked in-depth at the process of installing Jeremy and Alana’s new kitchen and laundry.

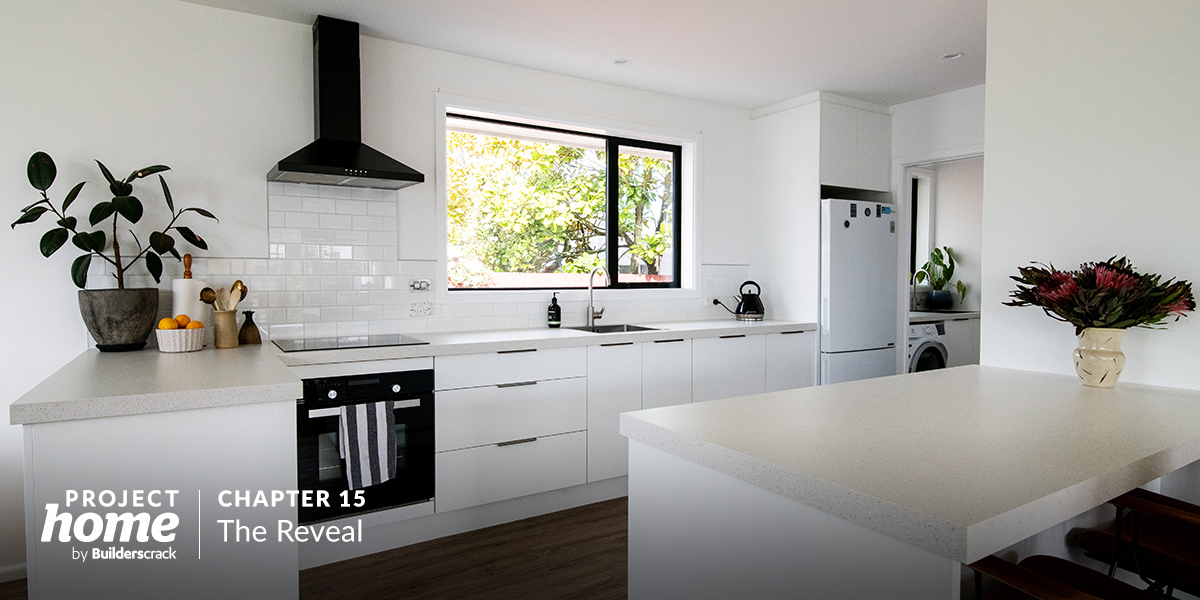
That’s nearly a wrap!

The last job in almost any renovation is the carpet and flooring. Just like every other step there are a range of choices for who to use and which products you go for.

In this chapter, we journey through carpet and flooring types, and their various benefits and drawbacks.

Why is flooring last in the renovation process?

  • When we set out on our renovation adventure, we only had a loose idea of the order of trades and work. By working with our builder, Mark Smith, we built a solid plan and worked to it.

    Flooring and carpet goes down last because it’s easily dirtied and damaged, and you want to make sure minimal work goes on once it’s down. It also requires a spotlessly clean floor before laying, so the house is generally cleaned beforehand too.

    Of course, you don’t have to install the flooring last, but it makes things a lot easier and less risky.

What particular products and materials were available?

With the vast array of different flooring products and materials, Jeremy and Alana spend a lot of time researching the various benefits and drawbacks of each. We take a quick look at their options.

  • The flooring space is absolutely chocka with different products and offerings. We first started with a layman’s approach of looking at finishes and colours, thinking that was where our energy was best spent.

    We quickly learned that there are multiple types of carpet and flooring, and we would be best to decide on the type we’d go for first, and choose our colours from there.

    This involved consulting with a range of retailers and outlets.

    Carpet

    Piles are the individual strands of thread that form the carpet. There are three main pile types:

    • Cut pile
    • Loop pile
    • Combination cut and loop pile

    And there are three common carpet materials:

    • Wool
    • Wool blends
    • Synthetic

    Each combination has different properties and resistance to wear, staining and fading, but also feel and colour choice.

    Rather than exhaust the options here, Consumer has a great article on carpet properties worth reading.

    Flooring

    Flooring is even more daunting than carpet!

    Manufacturers are using a vast range of different raw materials and processing techniques to come up with offerings that all tout different benefits and attempt to outshine each other.

    The basic choices fall into the following groups:

    • Natural timber
    • Engineered timber
    • Bamboo
    • Laminate
    • Hybrid
    • Vinyl plank
    • Linoleum
    • Tiles
    • Polished concrete
    • Sheet vinyl

    Each choice has varying product and installation costs, aesthetic options as well as durability.

    The fact that we were laying over a timber floor, as well as our budget made some options more or less attractive.

    By this stage, we were feeling quite overwhelmed and felt it was time to begin consulting with some specialists!

What flooring and carpet did you opt for in the end?

By balancing head with heart, Jeremy and Alana were willing to compromise a little on practicality to achieve something special.

  • We visited a range of flooring retailers and got a feel for the market. In the end, we opted to work with The Flooring Center.

    We consulted with their sales staff, illustrating our constraints (including budget) and needs.

    We quickly identified that vinyl planking was a great flooring choice for us. Vinyl planking is extremely durable, has high water resistance, does not require expansion gaps around wall (and therefore can be installed flush up to skirting) and can be installed over pretty much any base flooring.

    The design and styling of vinyl planks was really attractive too. With a range of timber-styles available – we were able to match the tones of the vinyl plank to our carpet, kitchen and paint choices.

    Carpet was a little more tricky. We were drawn to the various benefits of synthetic carpet such as durability and ease of cleaning – but our hearts were drawn to wool. In the end, we did choose wool. We just felt the synthetic products couldn’t match the luxury feel of woollen carpet underfoot.

    Envisioning getting home and being able to stretch out on soft, natural woollen carpet was something we really wanted to make happen.

How was the install organised?

  • You wouldn’t believe it, but compared to actually choosing the flooring and carpet – installation was a breeze!

    The Flooring Centre organised everything. Flooring would take approximately three days to install, and the carpet one day.

    We simply had to give the house a good clean and tidy before the installers arrived, and they would take care of the rest, including vacuuming the floors in prep for installation.

    We had to also make sure everything else was finished up before installation began.

Vinyl flooring

What was the installation process?

  • The installation process for the flooring and carpet were completely different.

    Flooring

    1. A layer of 5mm MDF was installed over the existing floor to create a uniform, predictable surface. The MDF is stapled down onto the floor of the house.
    2. The edges are installed flush up against the skirting and joinery.
    3. Next, the vinyl plank is cut to fit hard up against the skirting and joinery, and glued in place. This is repeated for each plank.
    4. Sealant is used around the edges where the vinyl plank sits against skirting and joinery in wet areats.
    5. Heat-lamps are positioned to assist with glue drying.
    6. Windows are covered to prevent the sun causing uneven drying.

    Carpet

    1. All existing staples fixing the previous underlay are removed and the floor is carefully vacuumed.
    2. Carpet grippers are installed around the perimeter of each room and edging installed where the carpet meets flooring.
    3. Underlay is cut and laid throughout the house.
    4. Carpet is laid out, and appropriate joins made, before being stretched onto grippers and edging.
    5. Edges are pressed down, and carpet is given final vacuum.

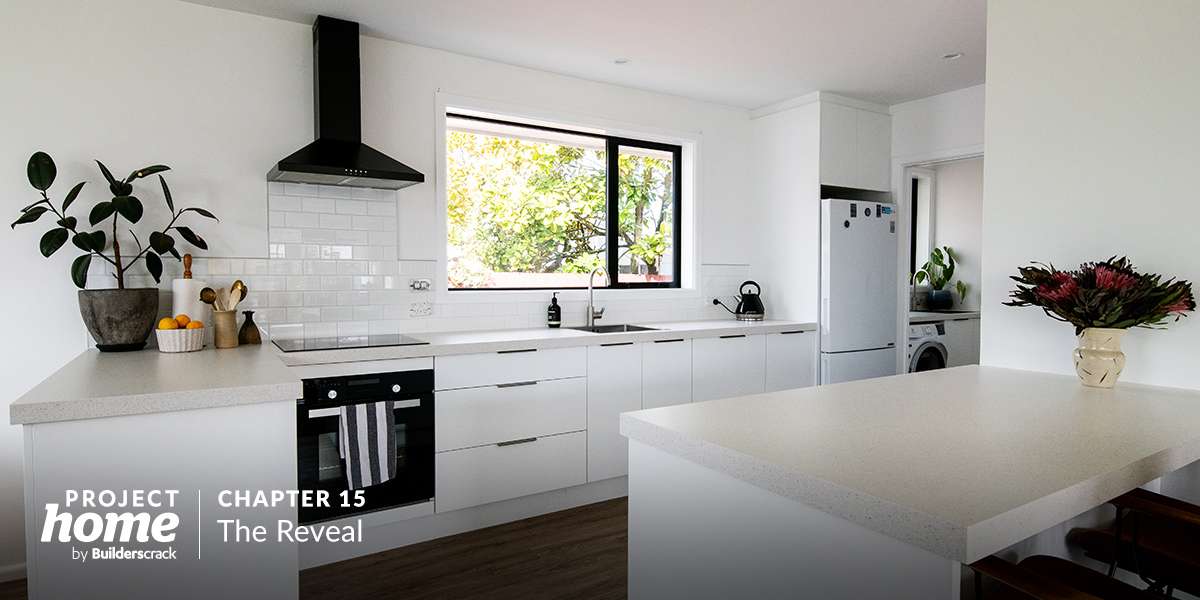
Were you happy with the result?

  • With all the effort we put into making the best choice, we had high expectations. They were exceeded!

    The Flooring Centre was great to work with, and their sales staff guided us exactly where we needed to go.

    Installation was a breeze, and the result is stunning, really setting off the renovation and completing the homely feel.

    With only a few miscellaneous tidying-up-jobs to go, the renovation is on track and almost complete.

    Next week – The Full Reveal!

Lessons learned from the day

  • Carpet and Flooring is a great space to spend time consulting with specialists in. Take your time working through the options.

  • It’s useful to set a budget early on, as carpet and flooring costs range broadly.

  • Pets, children, budget, sun, existing flooring and more are all considerations when making your flooring and carpet choice – and that’s before colour. Get the type nailed and then move on to colour.

  • Assemble your flooring samples together with your paint swatches and any other colour and material samples you’ve collected to get a feel for your complete palete. The earlier the better!

Gallery (click to enlarge)

Keep reading: