29.10.2019

Updated:

6.5.2021

8 min read

Share on:

In this series, we follow a Christchurch couple in their bid to turn their 1960’s fixer-upper, from a retro rental to a modern home.

If you’ve ever considered buying an older home but have lacked the confidence to tackle something totally outdated, this guide is for you. It’s a whole lot of fun, and not as hard (or anywhere near as risky) as you might imagine.

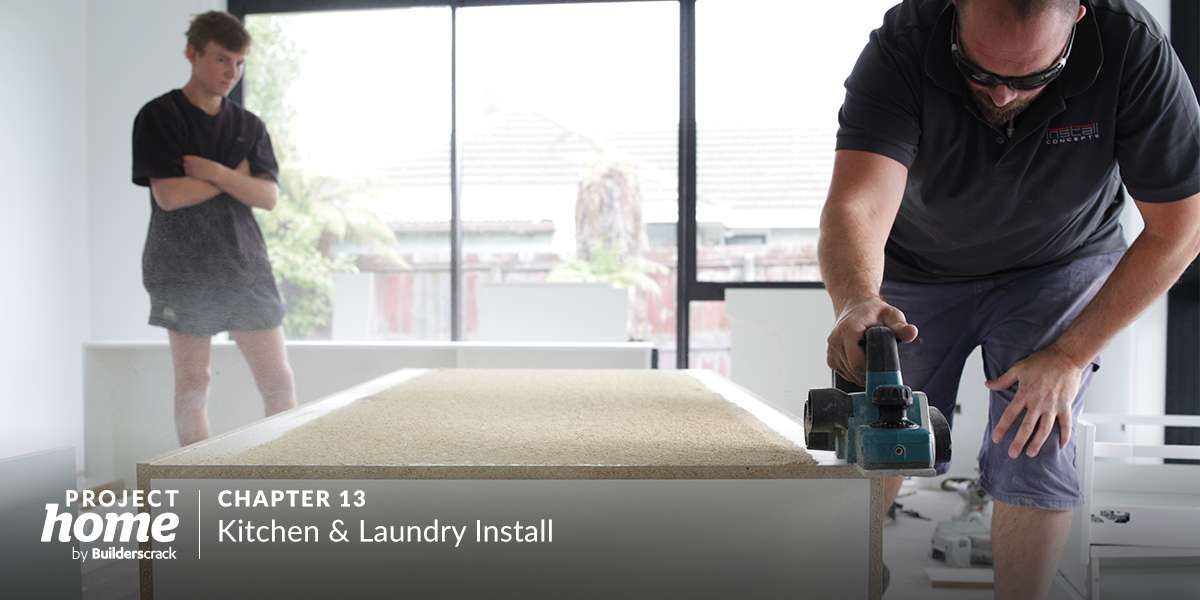
In the previous chapter, Zane of ZG Plastering & Painting had undertaken a full interior plaster to a Level 4 finish.

With the plastering done, it was time to paint! Before getting into the actual painting, there were a lot of decisions to be made: colour scheme and paint type or “sheen”, being two of the most critical.

In this chapter, we explore painting top to bottom. There is a lot more to it than you may think!

When did you begin planning and prepping for painting?

  • We began looking for a painter a lot earlier in the project. The project planning we undertook with the builder was critical to setting expected dates when each trade could get in and do their thing.

    So with that planning done, we began discussing the job with two painters about 4 weeks out from the time we expected the house to be ready for the actual paint application.

    Jason Ward Painter Decorator was to be our man. His Builderscrack reviews were sparkling, and he approached our job with a relaxed, yet professional attitude which put us at ease instantly.

    At this stage, with painting still around 3 weeks out, it gave us plenty of time to hone in our colour scheme and consult with both Jason and Resene – our chosen paint supplier – as to exactly which paint we’d go with.

Why Resene? How had your journey taken you there?

With their painter locked in, it was time to settle on both paint colour scheme and type. Paint type? Turns out there is more to paint than popping the lid and splashing it on!

  • When it came to paint technology, we were both very green – but being as this was the layer of our renovation that we’d be looking at for the foreseeable future we wanted to get it right!

    Jason had provided us with a list of quantities and types of paint… ceiling flat, wallboard sealer, acrylic and wall paints and so on.

    We started where everybody probably starts on their paint journey – at a hardware store, staring at buckets of paint all promising different benefits and results for different prices. We chatted with staff before parking the outing and returning home to re-evaluate our approach. To be honest, even with our tenacity, we felt a bit confused and cross-eyed.

    Our renovation, we realised, would sink or swim depending on our paint choice. Too much sheen and every imperfection in our home’s 50 year old walls would shine too. To flat, and we could feel like we were swimming in dull drudgery.

    Colour choice was to be vital too. Alana had designed the colour scheme to act as a white canvas, on which art could hang, and pot-plants pop. But with what felt like hundreds of whites available even that wasn’t to be easy!

    We needed to sit down and consult with a real paint expert. We needed to go through the options systematically and hone in on the perfect paint course. This is when we made the choice to visit Resene with our (growing) list of needs and considerations – and see if they could help.

What were your needs and considerations? How did you meet them?

With list in hand and vision in mind, Jeremy and Alana were ready to hone in on the specific paints required to produce an outstanding paint finish. We go through the different applications they required paint for.

  • We had the following requirements:

    • Wallboard sealer (applied directly to raw wallboard, before wall paint)
    • Ceiling flat (ceiling paint with no sheen, tinted to the desired colour)
    • Wall paint (tinted to the desired colour)
    • Paint for trim (surrounds of new joinery, skirting etc)
    • Paint system to allow us to paint garage door and aluminium joinery in shed black (from green)

    Before delving into the specific paints, we worked on a colour scheme with our Resene consultant.

    We worked on the advice that a lighter ceiling feels higher – so opted for a slightly “whiter” version of the white we went with for the walls.

    We decided we didn’t want to go for a different colour trim – our home would have a simple two colour scheme, walls one colour, ceiling the other.

    We opted for Alabaster for the walls and Half-Alabaster for the ceiling. This would provide a very clean, light space to adorn with paintings and plants to add contrast – in line with Alana’s vision.

    With the colours sorted, it was time to move onto paint technology.

    Because we were renovating an imperfect older home, we wanted to find the perfect sheen that didn’t accentuate the imperfections, while avoiding an overly matt finish of typical flat paints. Enter Resene “Spacecote”.

    Spacecote is one of a new generation of paints to use “spheromers”, which are essentially tiny ball bearings which give the paint advantageous properties in both application and finish. Of highest interest to us was the velvety finish able to be achieved even on imperfect walls. The spheromers diffuse the light in a way that gives a different look than typical wall paints, and has the best of both worlds in terms of sheen, as well as being appropriate for wet areas and washable.

    With that sorted, our paint system looked like this:

    • Wallboard sealing: Resene Broadwall Wallboard Sealer
    • Ceilings: Resene Ceiling Paint – Half Alabasta
    • Trim: Resene Enamacryl – Alabasta
    • Walls: Resene Spacecote Low Sheen – Alabasta
    • Garage Door & Aluminium Slider
      • Etch: Resene Vinyl Etch
      • Undercoat: Resene Enamel Undercoat
      • Topcoat: Resene Lustacryl – Black

    Ultimately, both the colours and paint system we chose was tailored to not just our taste, but the canvas we were working with. By working with a Resene expert on this in conjunction with Jason our painter, we honed in the perfect paint system for our specific application.

Was there anything else required before Jason could begin the painting?

With the plastering done and dusted, the paint sorted and Jason ready to go, we check in on whether any additional details were needing to be taken care of.

  • For a perfect result, Jason needed the house as clean as possible.

    • Because the carpet was being replaced, we had it removed earlier in the renovation, and there was a lot of sawdust, plaster and dust on the floor.
    • On flat surfaces of trim, like window sills, architraves and skirting, there was a lot of dust.

    These needed to be cleaned before Jason could start. This is one of those ambiguous jobs that doesn’t really belong to anyone. Instead of contracting in cleaners at this point, we opted to do the cleanup ourselves. It only took a couple of hours.

How did Jason approach the job?

With the paint purchased and the house clean and ready – the time had come for the painting to begin. We talk through the approach Jason took.

  • Jason followed the process which the paint system needed to be applied.

    Before painting, Jason went through the house and filled any screw and nail holes left by the builders. He also filled any gaps.

    Moving on to painting, he first sealed all the wall board, then moved onto ceilings, walls and finally trim.

    The cutting in and trim was all done by brush, with the bigger surfaces by roller.

    The sliding door, garage door and spouting were all quite fiddly and needed three coats of various primers and topcoat to get the desired result.

    The job was done over the course of a week, and there were no other tradespeople on site during this time.

Were you happy with the result?

  • With the extensive research we’d invested into paint technology, and the high hopes we had for the quality of finish – a lot hung on this!

    To say we were happy is an enormous understatement. We were totally blown away! Jason’s skill really shone through. The precision of his cutting and paint application was faultless.

    Underpinning the result was the beautiful, velvety feel of the spacecote wall paint. It is difficult to describe exactly the “look”, but it has a quality of depth to it, almost as if it tricks the eye into being unable to hold focus on imperfections. Even on the most imperfect parts, where wallpaper joins had been plastered in the bedrooms – these were not possible to spot without very close inspection.

    By investing in quality paint combined with the skills of a true professional, we had ultimately achieved the superior quality finish we aspired for.

    We felt like our aspirations had been exceeded – and this was quite a moment. The space was set. The planning, demolition, building and finishing had produced a space that we were totally in awe of!

    Full photos available in the reveal, to be published 19th November.

A small blemish in the wallpaper plastered over. Shot taken at 300mm distance.

The same blemish is undetectible at 2M

Lessons learned from the day

  • All paints are not equal! Different brands, sheens and technologies give different results even before selecting colour. If you’re painting perfect, fresh wallboard, you will require less from your paint – but if you’re renovating an older house – the space will really benefit from investing in a superior paint.

  • A lighter shade on the ceiling will make the space feel more spacious and light, while a darker shade will create a more intimate feel.

  • When choosing colours, it can be easy to become confused. Consulting with an expert is a great way to convert “feelings” like light, cozy, warm, crisp, bright and so on, into specific colours. Placing trust in an expert consultant can take the confusion out of choosing a colour scheme.

  • Virtually anything can be painted with the right prepwork. We opted to paint our green garage door, sliding door and spouting black, to match our home’s new joinery. Again, consulting with a paint specialist is the key to a perfect result.

Gallery (click to enlarge)

Keep reading: