Updated:
14.5.2025
If you’ve got little ones, you’ll know the drill — toys everywhere, mess that magically multiplies, and the feeling that you’ve tidied the same space 20 times today. That’s exactly what this family had in mind when they turned one of their rooms into a dedicated playroom.
The room in question? Think popcorn ceiling, snaggly carpet, and walls that had ‘seen better days’ — now, it’s the heart of this Wellington family’s home.
The homeowner, Claudia, shares why she took on a reno while on maternity leave (yes, really!), how she found a tradie within minutes, and tips from the tradie, Tyler, throughout the journey.

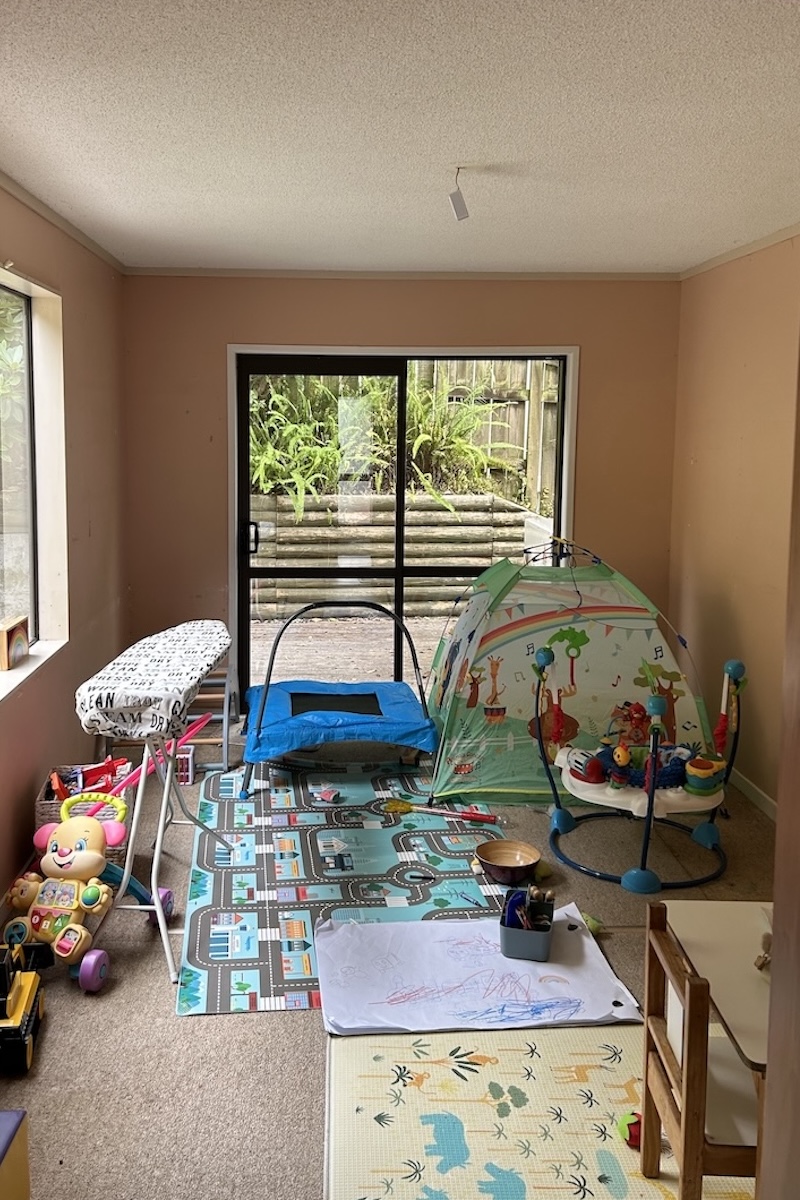
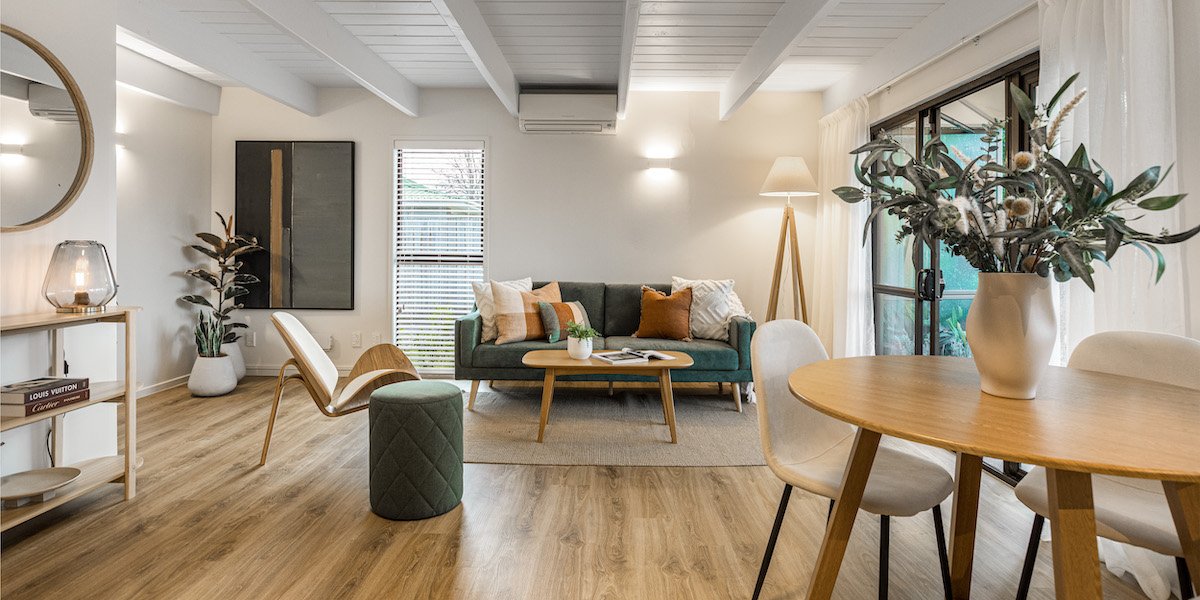
Sneak Peak: This playroom is now at the heart of this Wellington home.| Photo: Claudia
What’s the backstory of your playroom reno?
“We bought a house in September last year, and the previous owners had walled off one room which used to have open access. We wanted that access back,” Claudia shares.
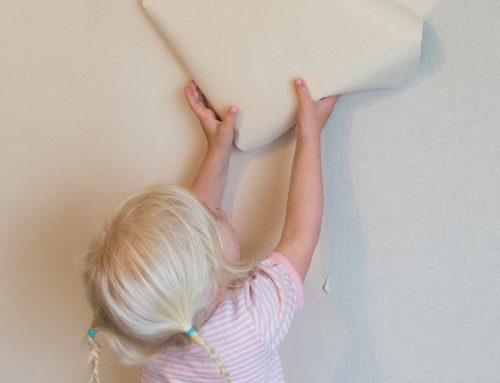
“It was in pretty rough shape. The carpet was patchy and threadbare, the Gib on the walls were full of holes, and the ceiling had your old popcorn-style. Thankfully, it was negative for asbestos, which we had tested for.
“The whole room just needed some TLC.
“We’ve got small children, a 3 year old, and a 4 month old, and the space adjoins to the living room, making the perfect spot to park all of their toys where we could supervise them.”


Before: Patchy carpet, holes in the walls, and popcorn ceiling. | Photos: Claudia
What role does the playroom play in your day-to-day life?
“These days, we use it every day for hours a day,” Claudia says.
“It’s the first place my little boy goes in the morning, and the place we have to drag him out kicking and screaming before bed every night!
“I can hang out in there with him, and the baby can chill out and do some tummy time down on the floor with us.”
Before: A room that was not only outdated, but also uninviting.| Videos: Claudia
What was your vision for the playroom?
“A lot of people start on Pinterest and get a bit carried away. But for us, it was just a very functional toy space,” Claudia says.
“I was really inspired by photos of open-ended playrooms, with lots of open shelving, color, and pictures on the walls. A light, bright, warm and cozy place that they would just gravitate towards.”
The tradie who made the vision come to life, Tyler from TH Carpentry, shares his first pro-tip on how you can get started.


During: Opening the playroom to the living room. | Photos: Claudia
How was your experience with Builderscrack?
“I had heard good things about it initially from my mum, who’d used it previously,” Claudia says, which prompted her to post a job.
“My job post got inquiries instantly!
“I accepted the first few and went from there.
“I really had no clue on the price going into the process. So, I wanted to get a couple of quotes, and compare them at first.”


During: Electrical work (left), and reinstating the door (right). | Photos: Claudia
What did you look for in your tradie?
“When Tyler responded, I thought, OK, you’re quick — you can come around this week to quote.
“The faster I could get a total for everything, the sooner I could run to the bank and say here’s the expected cost.”


During: A 1.8m custom sliding door to close off the space at night. | Photos: Claudia
What were the elements of the playroom reno?
| Flooring | Electricals | Carpentry & Plastering | Painting |
|---|---|---|---|
| New carpet and underlay (done by Carpet Court) | New lights, new power points, and new switches | Re-gibbing of ceiling and walls, reinstating doorway, installation of custom cavity doors | Paint from Mitre10 (DIY) |
| $2,300 | $900 | $15,000 | $350 |


After: A smart and functional space. | Photos: Claudia
Were there any challenges?
“I was on maternity leave, and finance was a bit of a roll of the dice. It took a bit of work getting the bank to approve our top up,” Claudia shares.
“And for us, we weren’t totally sure what we were in for when we ripped off the walls. We didn’t know if there was insulation behind there, so we had to factor that into the budget just in case we needed to buy any.
“You just never know when you buy an existing home, until you start dismantling it. And, we’ve had some surprises in other corners of the house, but these were mainly electrical.”


After: The new space has won over everyone, including the cat! | Photos: Claudia
How do you feel now that the work is done?
“We love it!” Claudia says.
“The room is completely central to our lives now, and was so worth it.
“The earlier we could do this project, the more we knew we would get out of it, because the younger the children are, the more life it has as a playroom.
“With our custom doors, we can tell our son ‘the playroom is closed for the day, time to go up to bed now’ at the end of the night.
“Then, I don’t have to pick up every last toy on the floor. I can just shut the room off so that I’m not looking at clutter after they go to bed. It does wonders for my mental health!”


After: “It’s the first place my little boy goes in the morning.” | Photos: Claudia
Is there anything you would do different in hindsight?
“Honestly, no. TH Carpentry were great, and the whole thing kicked off so much faster than I was expecting,” Claudia says.
“The timing was best in terms of being able to manage tradies back and forth, because I could be home during the day.
“Plus, we got super lucky because pretty much as soon as our custom doors were ordered, Tyler came and started.
“The whole thing took two weeks from beginning to end, and it was done by March, which was just amazing. I was expecting it to take so much longer!
Before & After: Slide to see the results. | Photos: Claudia
Advice you would give to other homeowners?
“And, if you’ve been dreaming about it, just do it! If it’s gonna be a very functional outcome for your family, you will never ever regret it,” Claudia says.

After: This 3 year old is chuffed about his new space!| Photo: Claudia
A thanks from BC
Thanks to the lovely homeowner, Claudia, for sharing her playroom renovation story with us, and to Tyler from TH Carpentry for the pro-tips and workmanship, delivering these awesome results.
