Updated:
29.11.2024
W
e take you through the steps of turning your landscaping dreams into a reality.
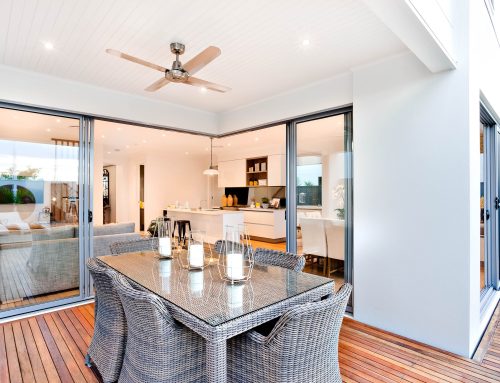
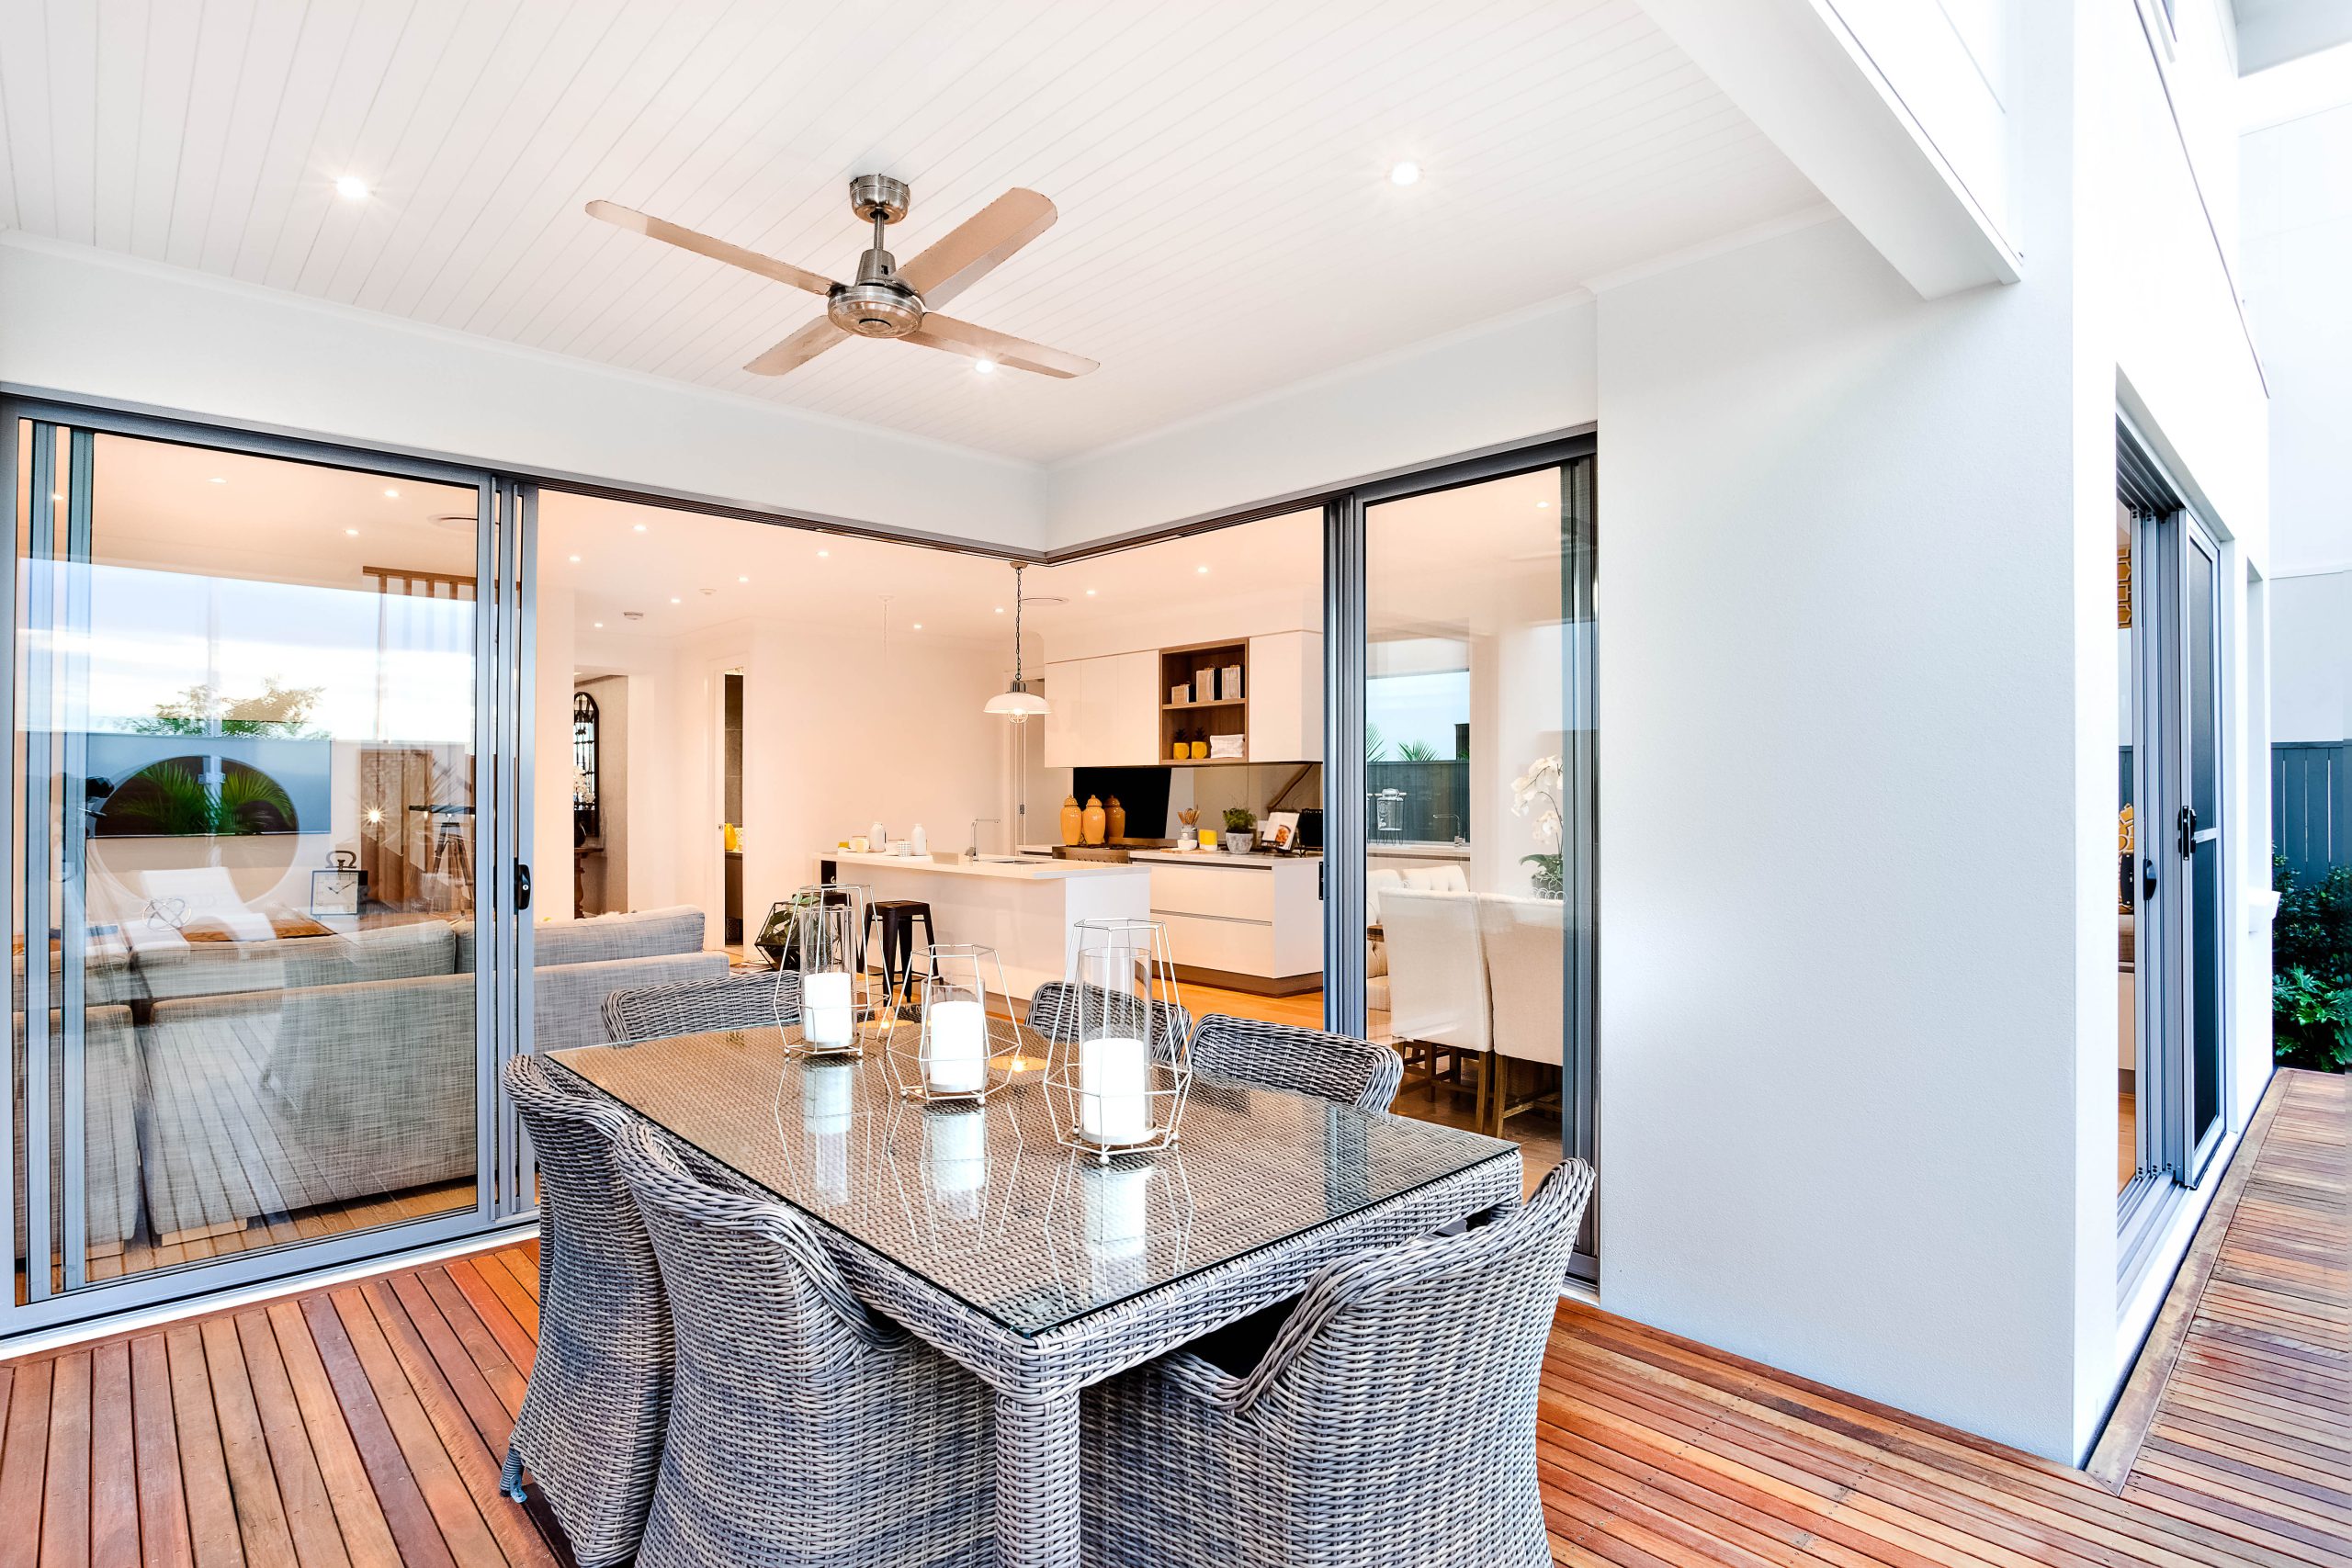
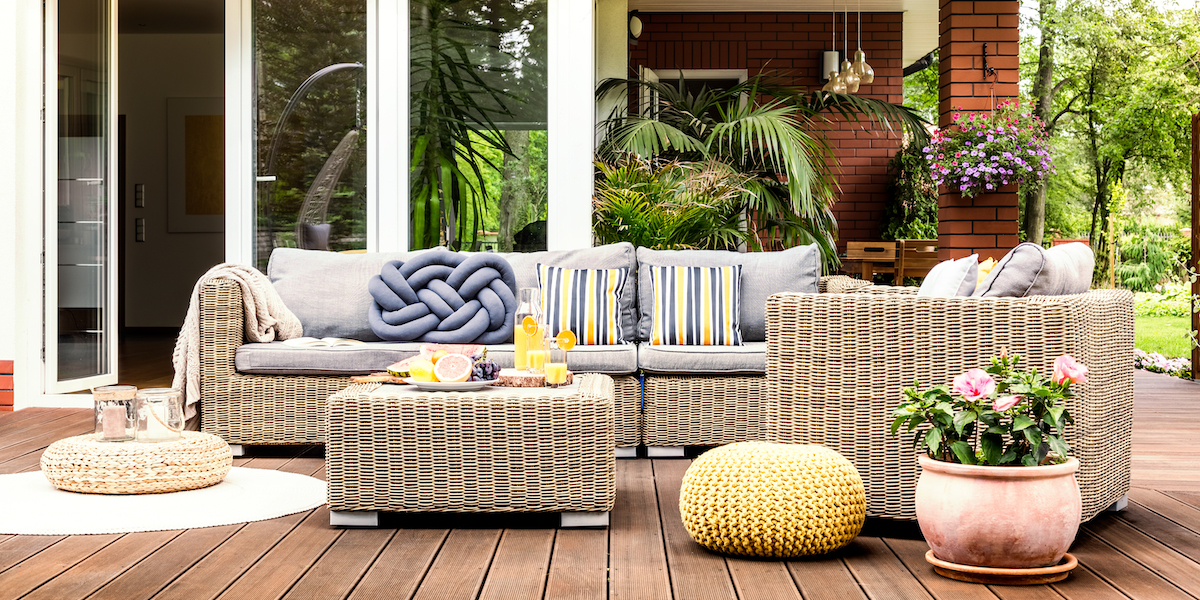
Adding value to your property doesn’t have to stop at the back door – and with the rise in popularity of ‘indoor-outdoor flow’, backyards have become quite the asset.
We’ve done the hard ‘yards’ for you and mapped out five actionable steps to bring your landscaping dreams to life.

Step 1: Sit Back and Observe
A Builderscrack Tradie specialising in gardening and landscaping, Paul Motley of Supreme Services, suggests the first place to start is to collect photos of concepts you’ve seen either at a friend’s or online.
“Another thing, is to spend some time really thinking about the space. You know, take the weekend and spend some time outside thinking about how you actually use the space. This way you can be sure that your plans will work,” says Paul.
Observe things like sun exposure, shaded areas, and consider the practicality and purpose of what you might be thinking.
This is also a good time for some ‘before’ photos if you’d like to see the visual change after completion. This is always a nice way to reflect on what’s been achieved.
Step 2: Measure Up and Map Out
Next up, you’ll need a couple of tools such as a measuring tape or measuring wheel, graph paper and a pencil. You can pick graph paper up from any well-stocked stationery shop, and it’s quite invaluable when it comes to planning projects like this.
Take your measurements in this order: house perimeter, boundary lines, and then the parts of your landscape that will remain after your improvements (for example a deck, pool or vegetable garden).
Then, on the graph paper, draw the perimeter of your house to scale (1m to 1 square), and so on. Label any doors, windows, footpaths or driveways. You don’t need to be da Vinci to achieve a good enough plan. As long as it’s within about one metre of accuracy and is clear enough – it’ll be useful.
Calculate your square meterage, and extract the totals of the areas you’d like to improve as you’ll need them for Step 3. You can either just count the squares, or break up the shape into bigger rectangles, calculating length x width for each rectangle – adding them all together in the end.
Step 3: Textures and Materials
When asked about textures and materials, Paul stressed the importance of keeping things simple.
Consider which masonry would work best with your area and budget, with popular choices in New Zealand being stone, marble, granite, concrete or glass block, and tile.
Next, consider which trees and plants you’d like to incorporate. If you’re wondering how to choose from the endless variety, Paul says most people choose for colour.
“A lot of people ask about flowers when looking for new landscaping, and they ask which flowers will attract our native birds and bees,” says Paul.
He recommends the Little Gem Magnolia in particular – it’s a tree, but it’s most commonly kept to a shrub size and has a beautiful, deep green foliage.
It’s important to remember the hot and cold parts of your landscape, and access to water, as this will determine where you place your greenery.
If you’re at a loss for concepts, you can’t beat the beautiful texture trio of masonry, greenery and timber; you can read about decking materials here for more insight.
Make a copy of the original graph paper and fill in the location of your new elements.
Once you’ve decided on the placement, you can calculate an approximate cost of materials.

Step 4: Secure a Tradie
Now that your landscaping ideas are on paper, it’s time to team up with a Tradie.
With your complete brief in hand, and a great understanding of what you’re after, you can communicate this in your Job Post to enable the Tradie to provide an accurate estimate or quote.
Clear communication plays a huge role in determining the success of your job, as we’ll find out in Step 5.
Specify if you will be purchasing the materials, or if you would like them to purchase the materials on your behalf. If you opt for the latter, be sure to add the material expenses in your budget on your Job Post.

Step 5: Roll Out
Now for the exciting part – when you see your landscaping dreams come to life.
Not all backyards are created equal though, which means some elements envisioned on paper might not work out in real life; but not to worry, Paul says there’s always a workaround.
“I generate a solution for them, you know, ‘here’s three different options, and this is what they cost’, and homeowners love that. They don’t like being told there’s only one option, and here’s what it’s going to cost. The communication helps me to work more closely with the homeowner, and to check in along the way, and having experience also helps.”
After your project is completed, and you’re soaking up the new elements of your landscape, take some ‘after’ photos to truly appreciate the transformation.
And all that’s left to do now is to repeat some of Step 1 – sit back and relax.


