Project
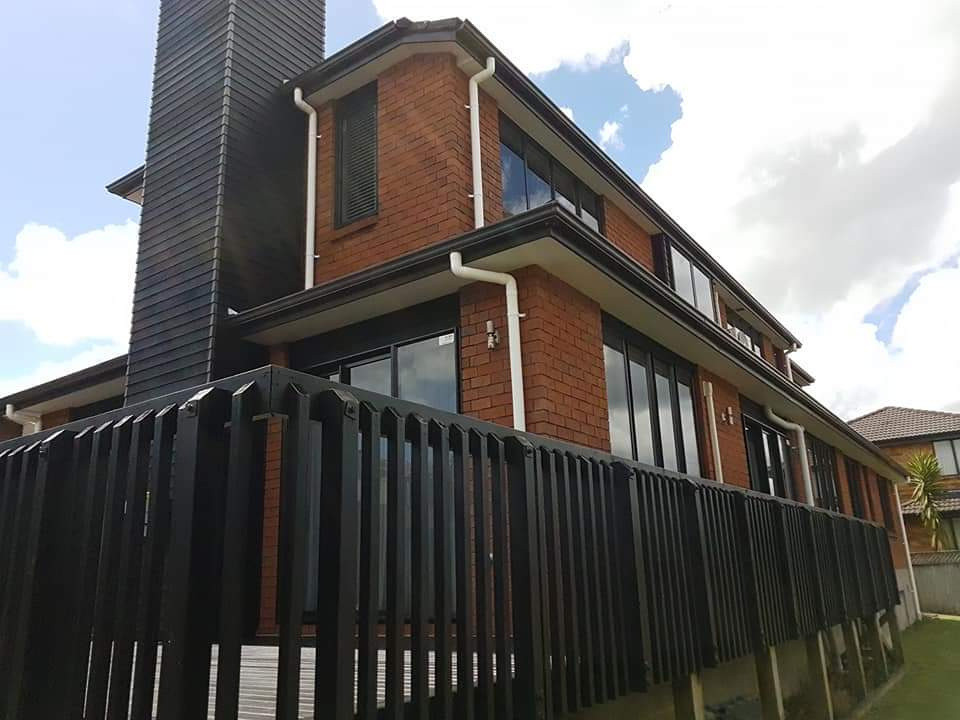
House Exterior staining
Project description
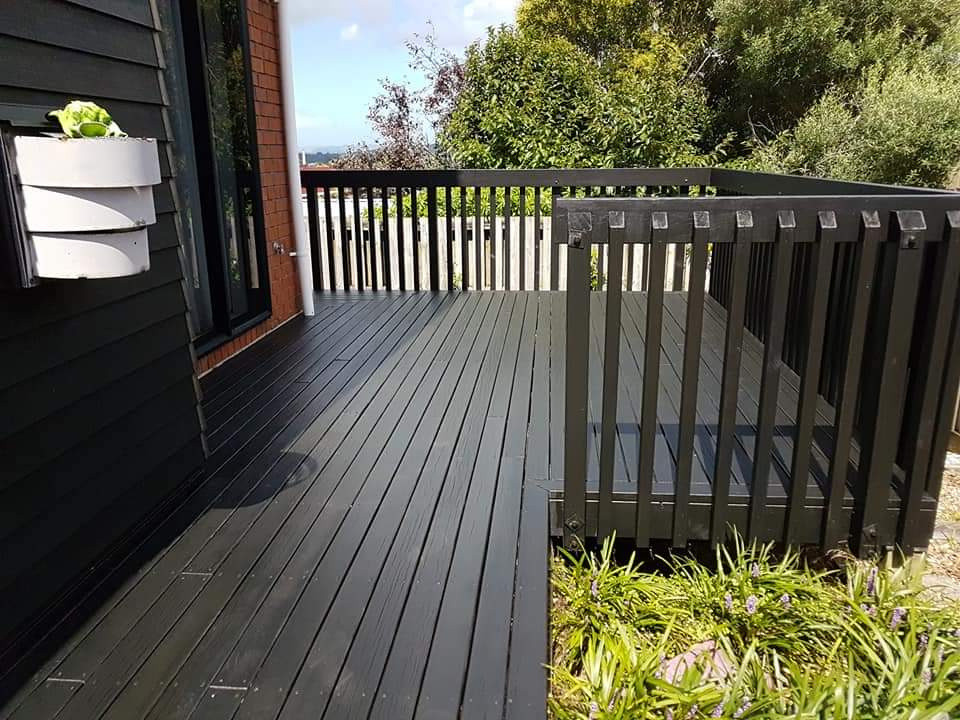
We worked on this exterior staining project on an old house that needed a lot of work to make it look beautiful. The first step was to prepare the surface by cleaning it with a pressure washer or a scrub brush and water. This removed any dirt, mildew, or other debris that could prevent the stain from adhering properly.
Once the surface was clean, we applied a stain primer if the wood was new or had not been stained in a long time. The primer helps to seal the wood and prevent the stain from soaking in too deeply.
Next, we applied the stain using a roller, brush, or sprayer. We chose to use a roller for the larger surfaces and a brush for the smaller details. We applied the stain in thin, even coats, working from the top down to prevent drips.
We allowed the first coat of stain to dry completely before applying a second coat. This ensured that the stain would be evenly applied and would provide the best possible protection for the wood.
Once the second coat of stain was dry, the project was complete. The old house now looked beautiful and was protected from the elements for years to come.
Last updated on 29-06-2023