

Yar & Brothers painting and decorating
About
**Welcome to Eternity (Yar Thet Pan) Painting and Decorating Services**
At Eternity(Yar thet pan), we specialize in transforming spaces into vibrant and inviting environments through our expert painting and decorating services. With a passion for craftsmanship and a dedication to exceeding our clients’ expectations, we offer a comprehensive range of services tailored to meet your unique needs.
**Why Choose Us?**
- **Expertise:** Our team of skilled painters and decorators brings years of experience and knowledge to every project, ensuring meticulous attention to detail and impeccable results.
- **Wide Range of Services:** From interior and exterior painting and Gib installation and decorative finishes, we handle projects of all sizes and complexities.
- **Quality Materials:** We use only high-quality paints and materials to ensure durability, beauty, and long-lasting results.
- **Customer Satisfaction:** Your satisfaction is our priority. We work closely with you throughout the process, from initial consultation to project completion, to ensure we meet your vision and exceed your expectations.
**Our Commitment**
At Eternity, we understand that your home or business is a reflection of your personality and style. Whether you’re looking to refresh a single room or transform an entire property, we are here to bring your vision to life with professionalism, reliability, and a commitment to excellence.
**Get Started Today**
Explore our portfolio and discover how Eternity (YarthetPan) can enhance your space with our painting and decorating services. Contact us today to schedule a consultation and let us turn your ideas into reality.
---
This introduction effectively communicates the core strengths and values of your painting and decorating services, enticing potential clients to learn more about what your company has to offer.
Credentials
Projects
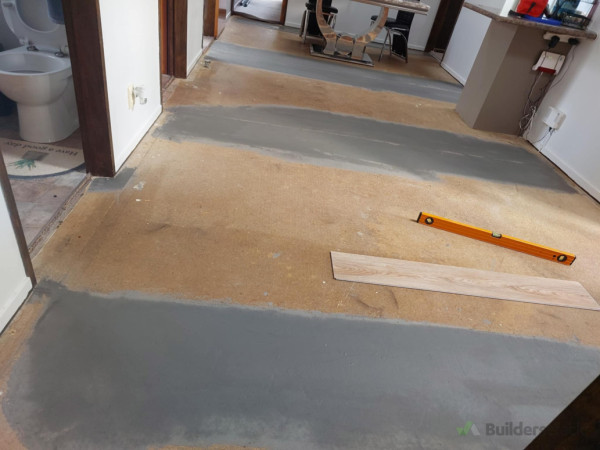
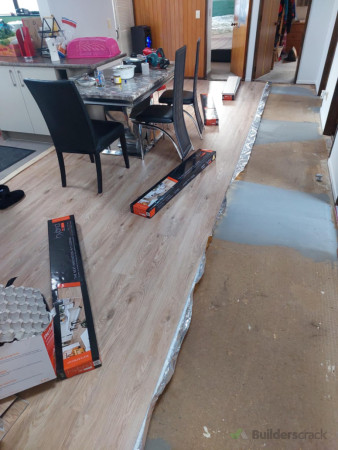
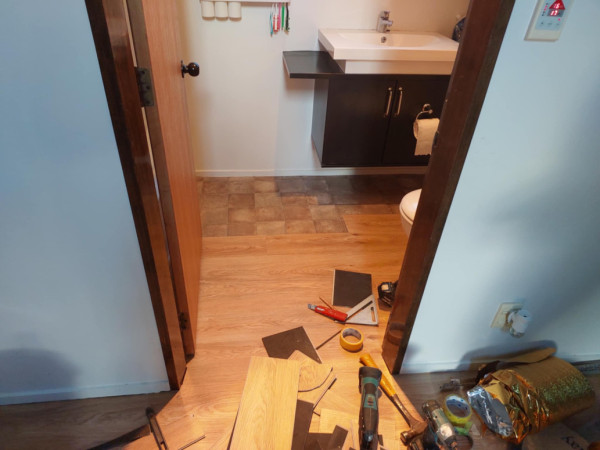
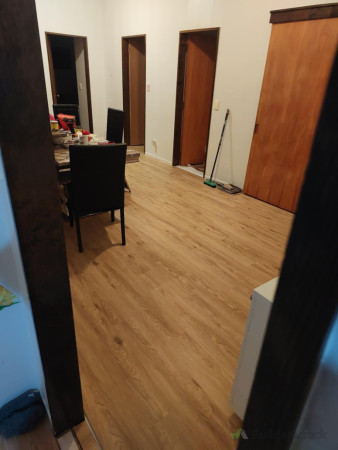
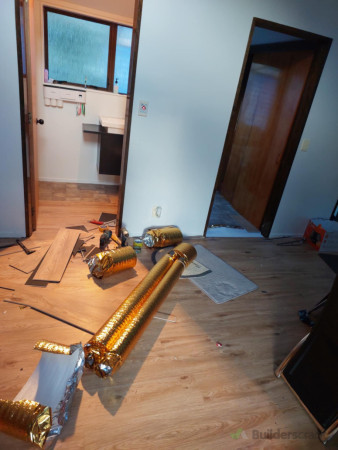
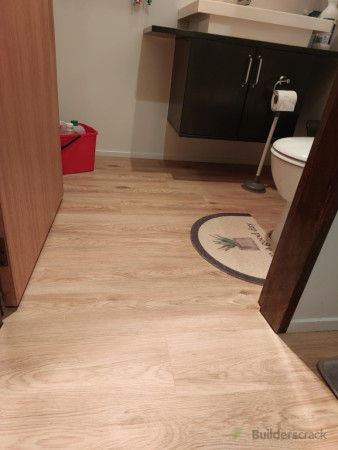
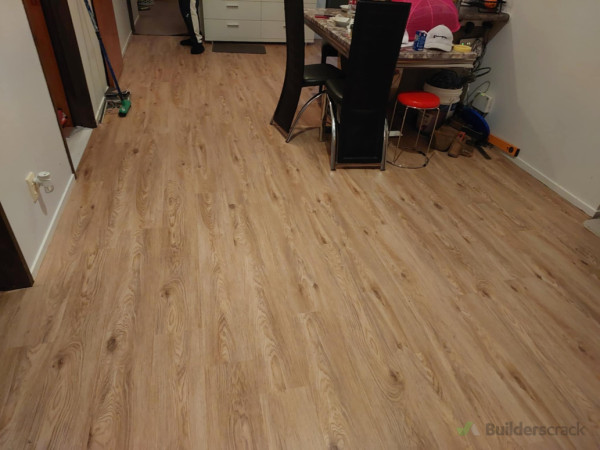
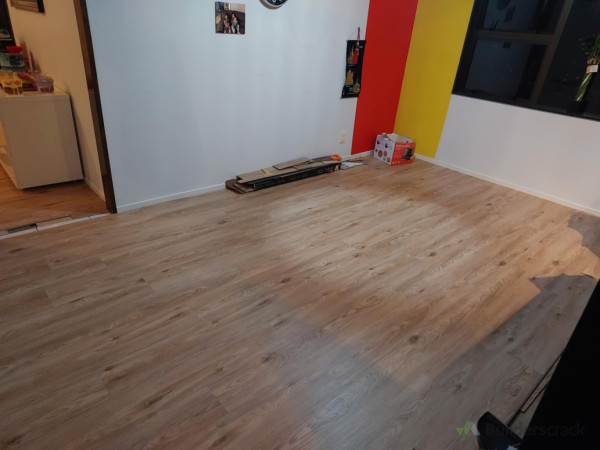
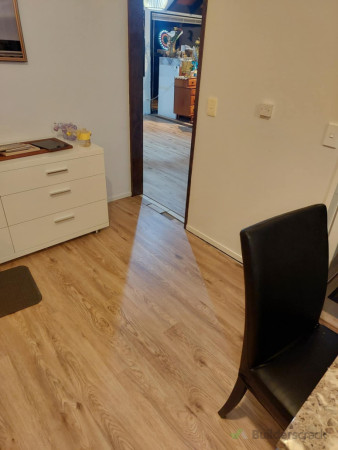


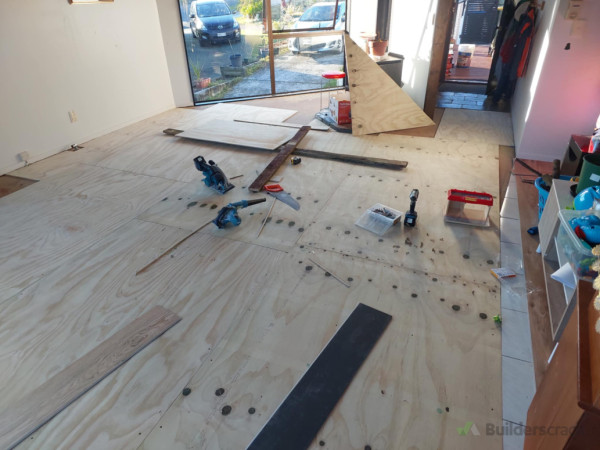
Kitchen flooring
We just done the Kitchen bathroom and Family (TV room) for new flooring. Installing vinyl plank flooring is generally a straightforward process that can be done by DIY enthusiasts or by hiring a professional. Here is a general overview of the vinyl plank installation process: 1. Acclimate the flooring: Before installation, it is important to acclimate the vinyl plank flooring to the room where it will be installed for at least 48 hours. This helps the planks adjust to the temperature and humidity of the room, reducing the chances of expansion or contraction after installation. 2. Prepare the subfloor: The subfloor must be clean, level, dry, and free of any debris before installing the vinyl planks. If necessary, make any necessary repairs or use a self-leveling compound to ensure a smooth surface. 3. Install underlayment (if needed): Depending on the type of vinyl plank flooring being used, an underlayment may be required. Follow the manufacturer's instructions for installing the underlayment. 4. Measure and cut planks: Measure the length of the room and calculate the number of planks needed. Cut the planks at the appropriate length using a utility knife or a vinyl cutter. 5. Start laying the planks: Begin laying the vinyl planks along one wall, leaving a 1/4-inch gap between the planks and the wall for expansion. Use spacers to maintain this gap throughout the installation. 6. Connect planks: Connect the planks by interlocking the tongue and groove edges. Use a tapping block and a rubber mallet to gently tap the planks into place for a tight fit. 7. Install the remaining rows: Continue installing planks row by row, staggering the planks for a natural look. Make sure to maintain the 1/4-inch gap around the edges of the room. 8. Trim and finish: Cut the final row of planks to fit using a utility knife or a saw. Install any necessary transition pieces, such as threshold molding or baseboards, to complete the installation. 9. Clean up: Remove any spacers and clean up any debris from the installation. Sweep or vacuum the floor to remove any dust or dirt. 10. Enjoy your new floor: Once the installation is complete, allow the floor to settle for at least 24 hours before walking on it or moving furniture back into the room. Congratulations, you now have a beautiful new vinyl plank floor!